Point 21a

As time permits, I’ve been mounting and fitting points to the Goods Yard area. However, there was a problem with the last point to be made – the motor had to go where there was a strut and a bunch of wires under the layout.

So a bit of inventive thinking came up with this:

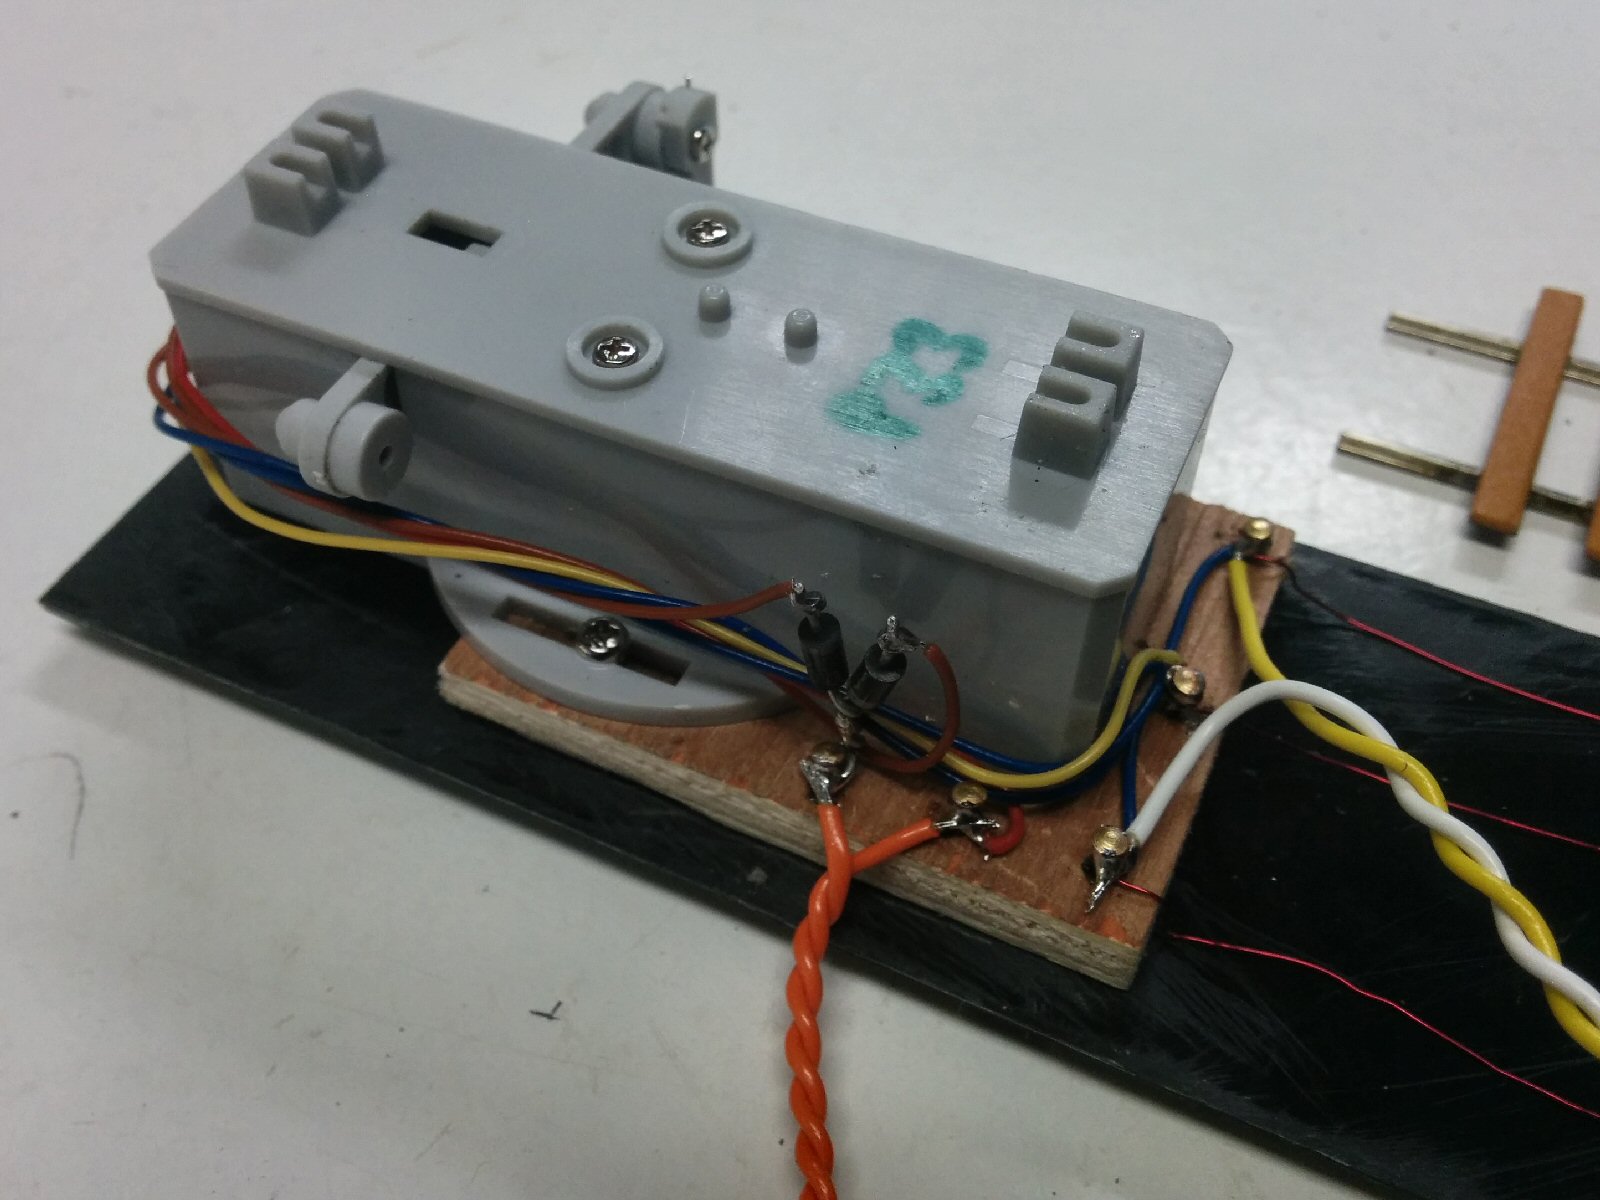
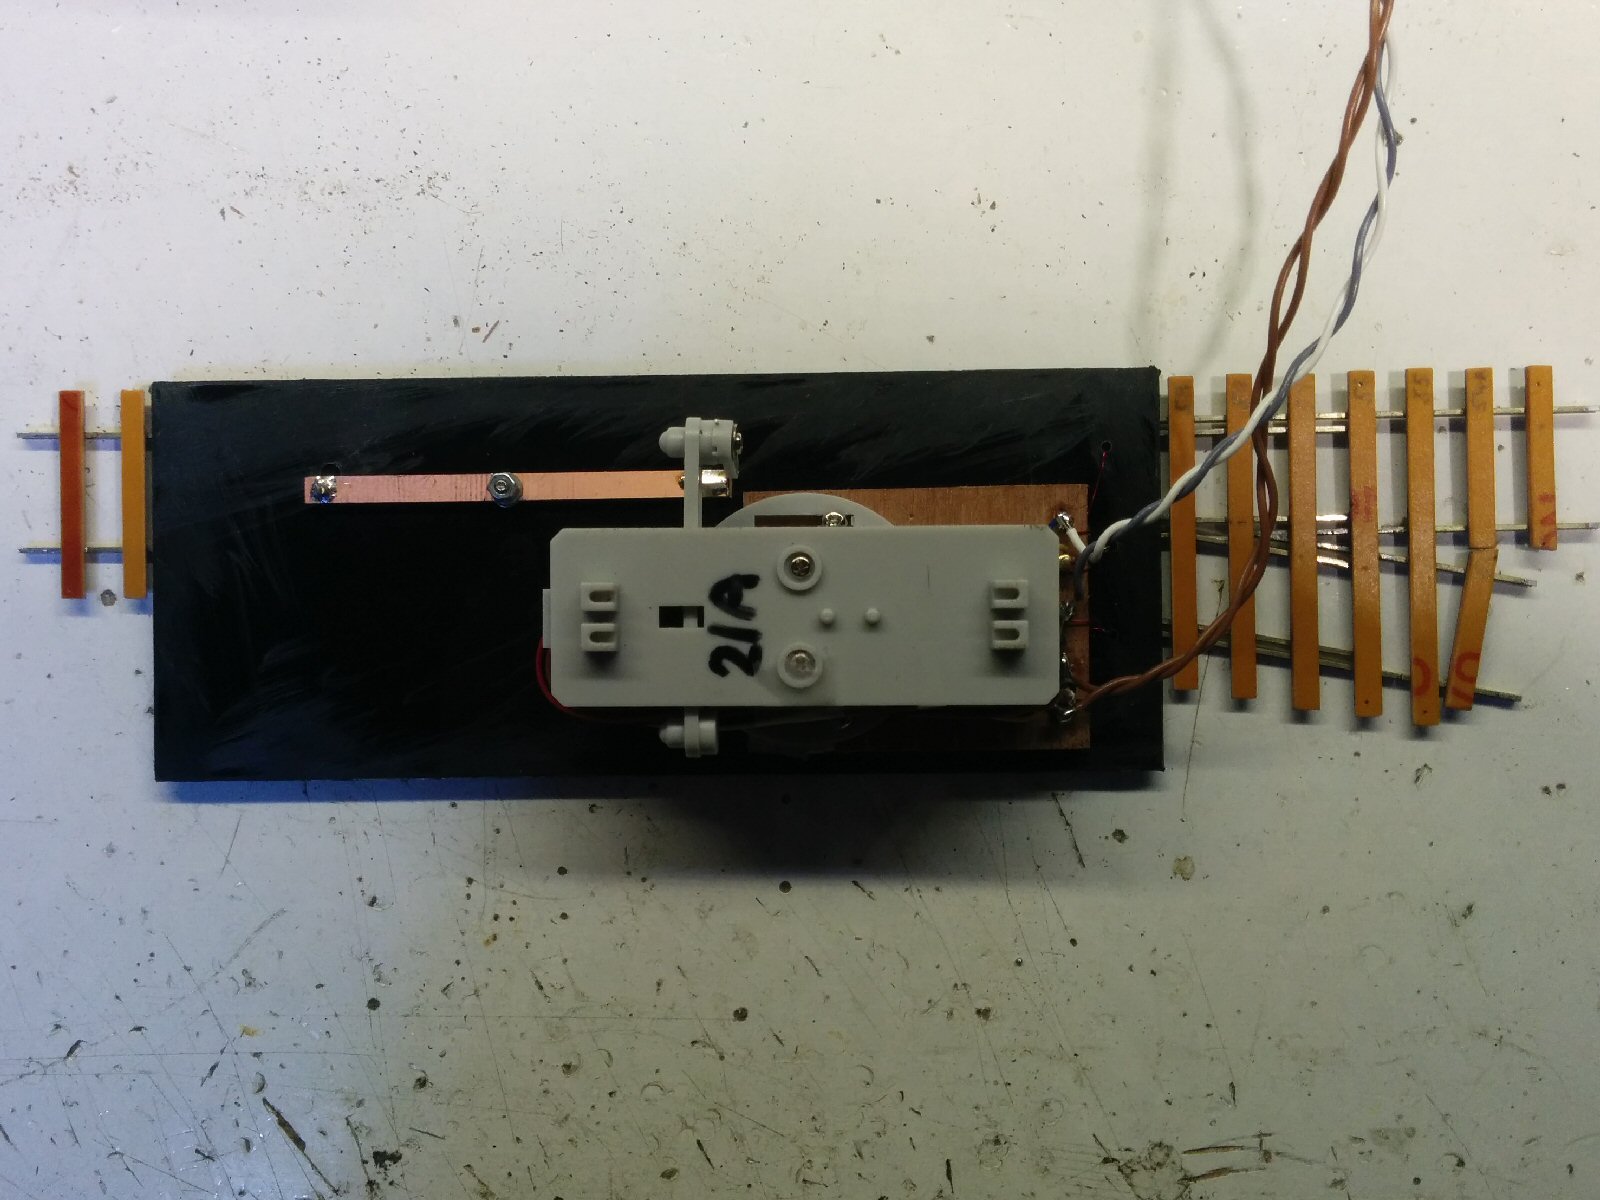
The motor drives the right hand side of the shiny copperclad bar, which pivots on the bolt in the middle, and the tie bar is driven via a pin on the left hand side.

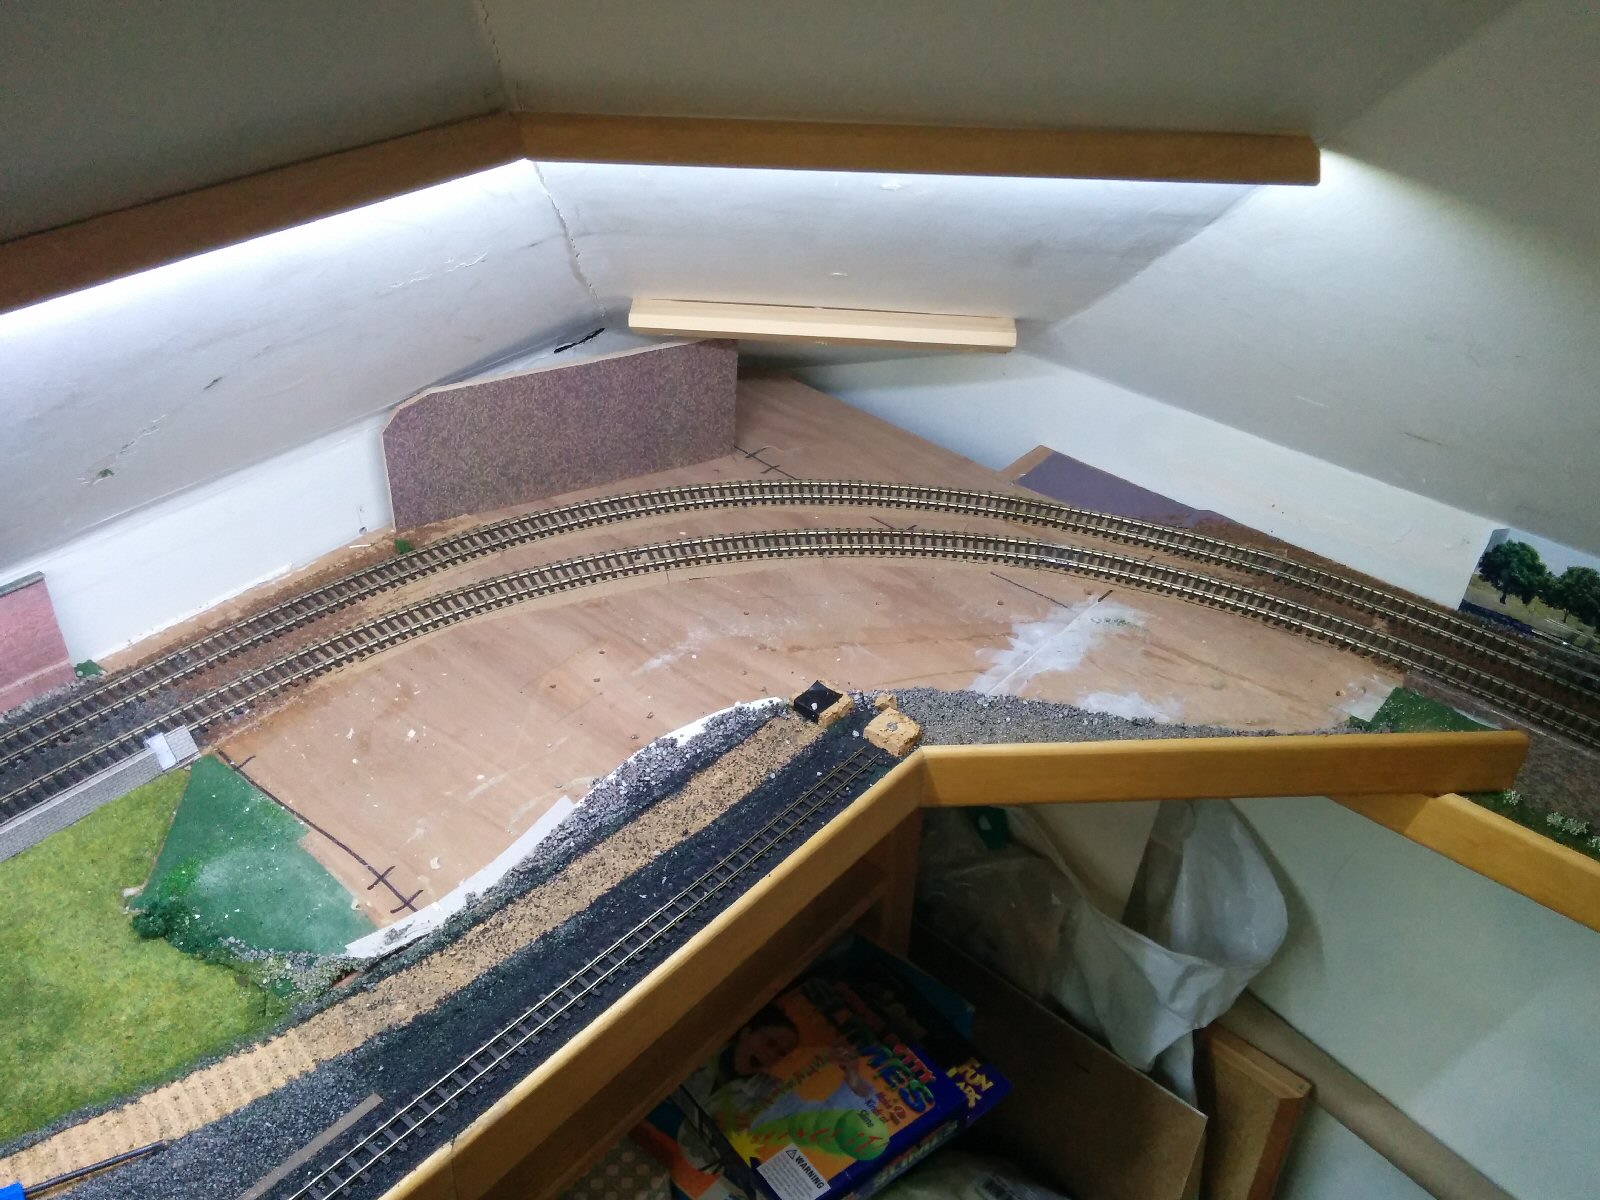
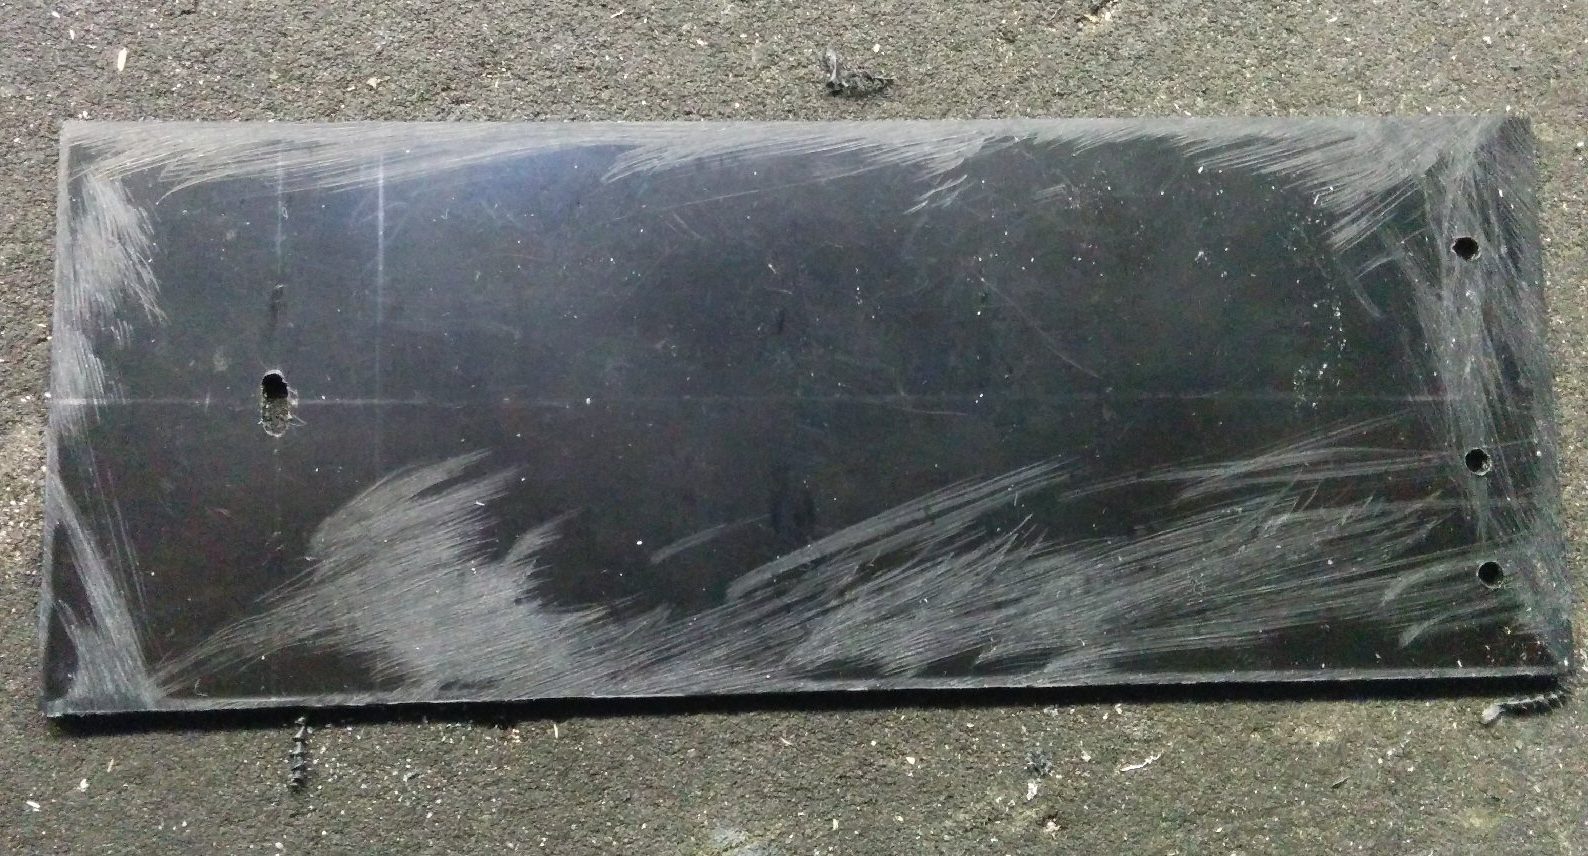
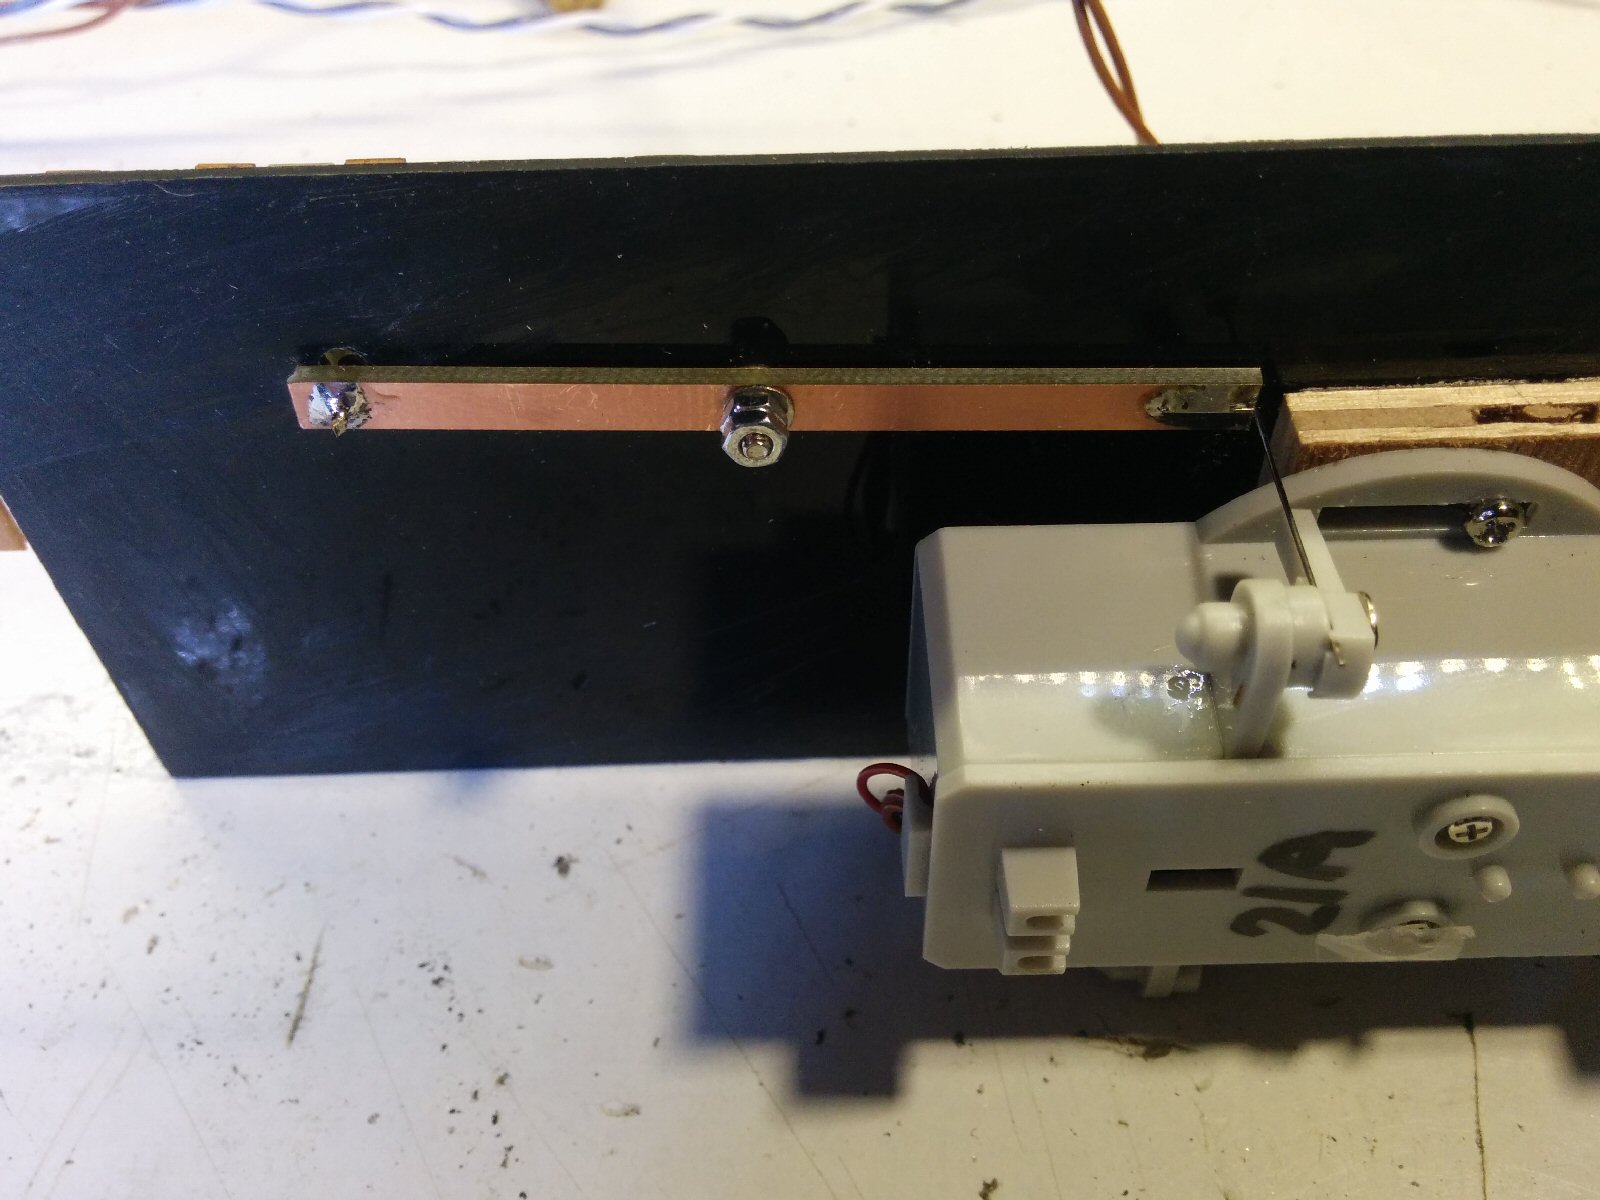
So the left part will fit in a channel in the 9mm baseboard.

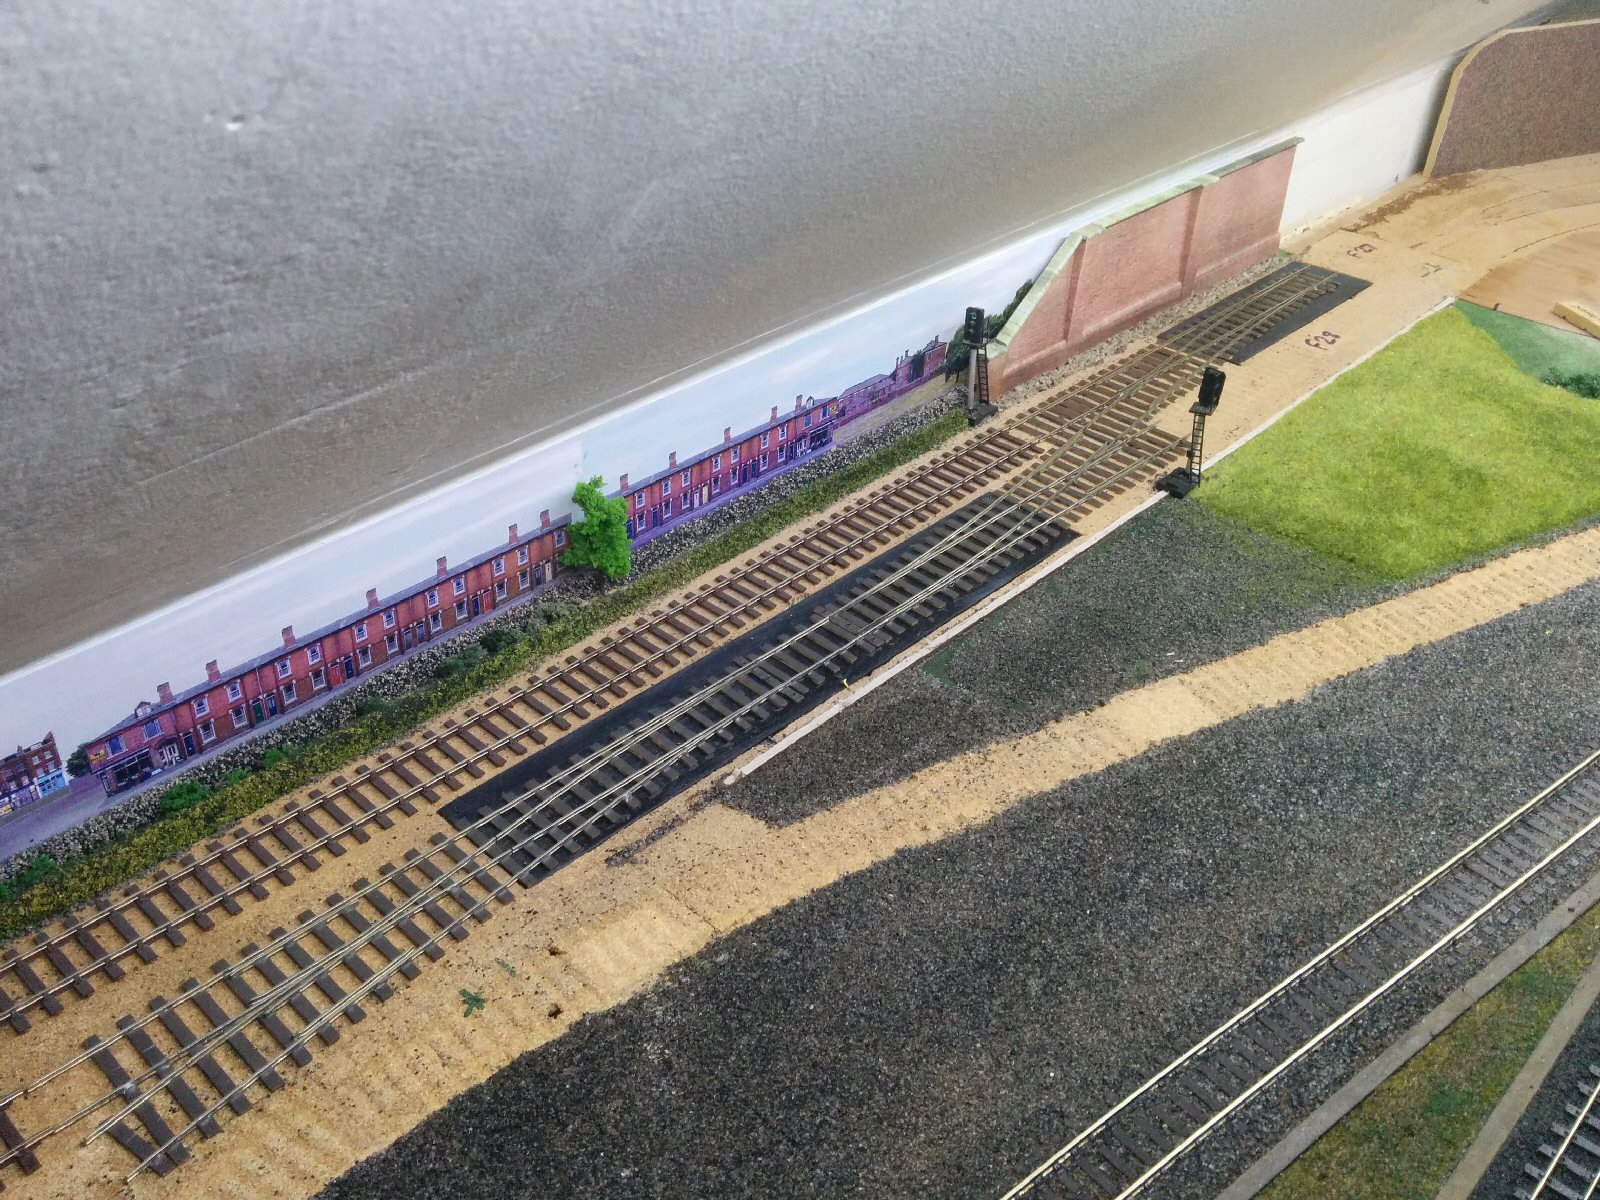
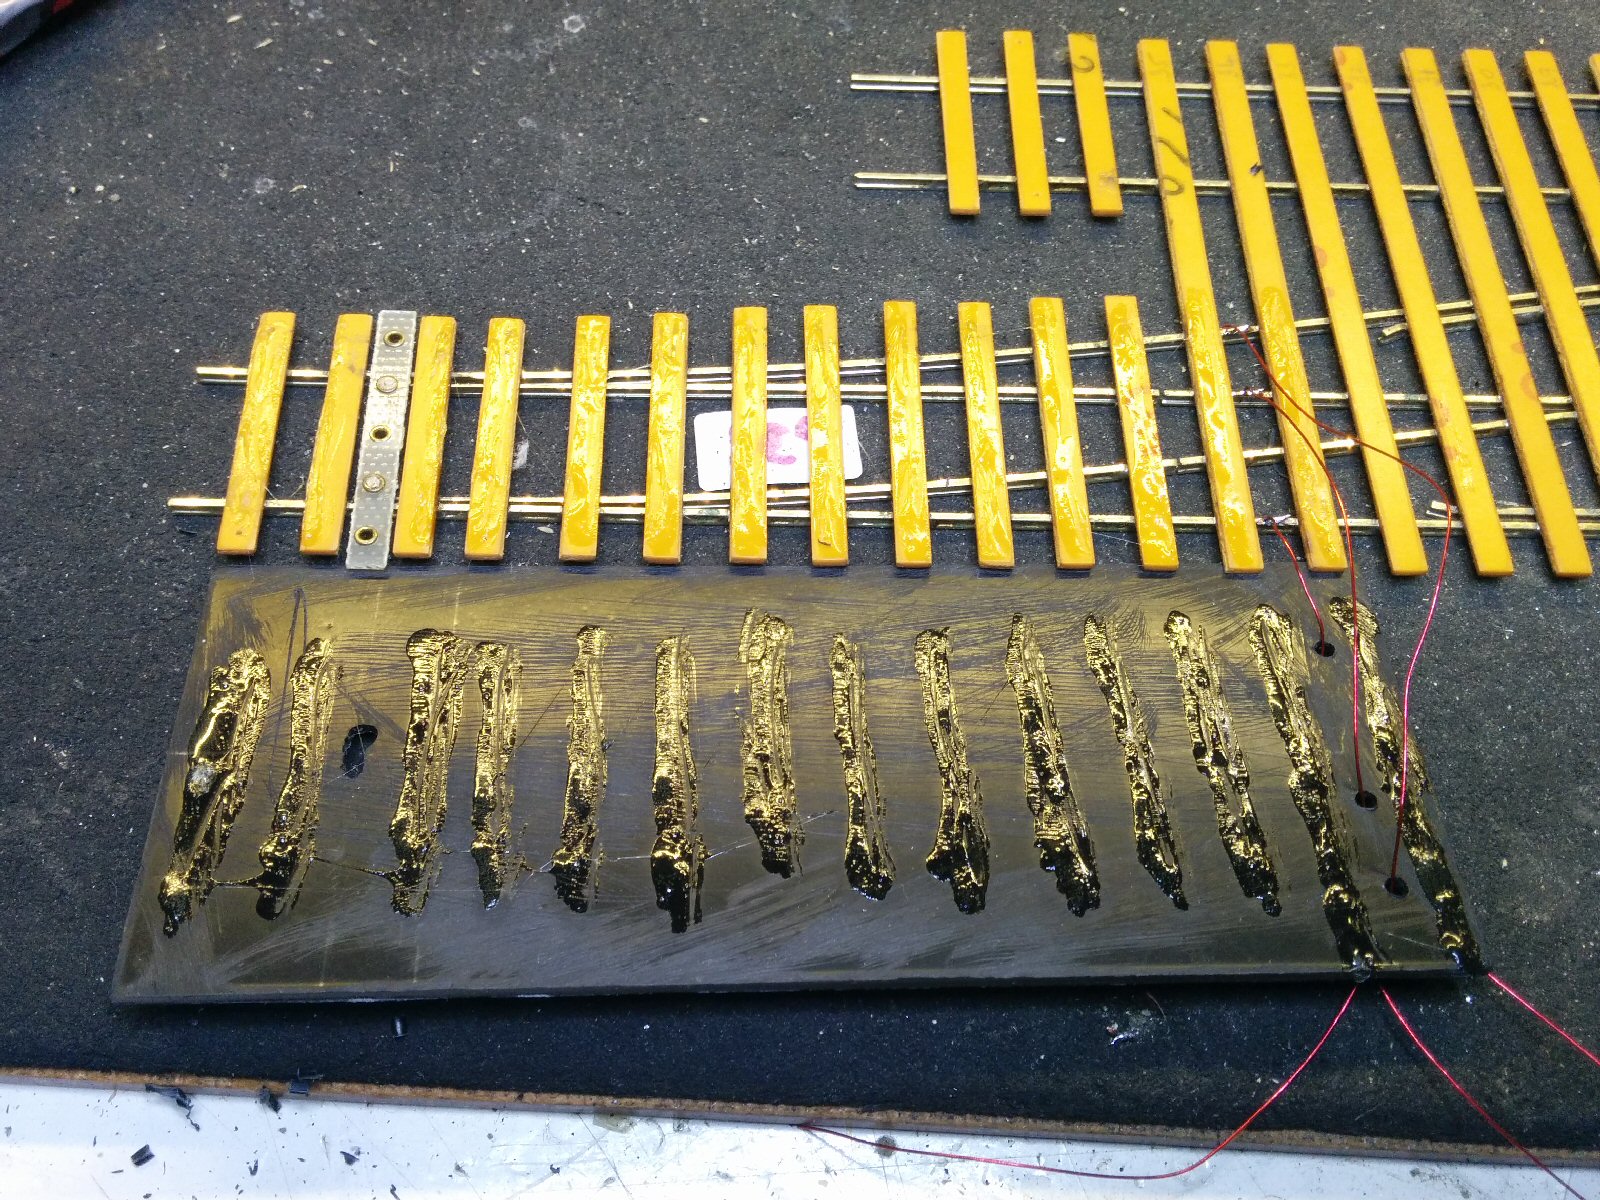
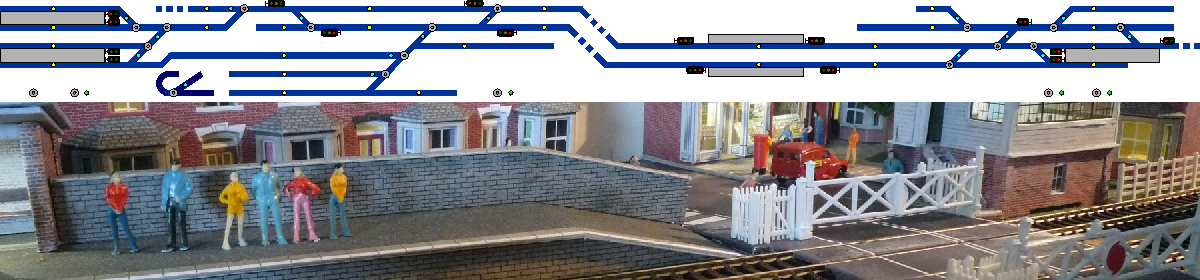
This is the top of the point, ready for installing in the layout:

You can see the pivot bolt; this will eventually be covered by ballast.

Tunnel Removed

In order to lay the next section of new track, the tunnel has had to be removed. This was a challenge as I couldn’t remember how it was fixed, but luckily, the appropriate screws under the baseboard were marked “Tunnel”…

This area hasn’t seen daylight for 5 years:

The tracks were then easy to remove:

Corner Points Fitted

The old corner points and associated track have been cleared:

Holes were cut in the baseboard, and the new points (see Corner Points Construction to see how they’re made) were then fitted:

To the right of this picture, you can see a short adaptor which has been temporarily installed to convert the new, finer scale, track to the old track:

And then finally, the associated track was fitted. This is glued down with a dilute Copydex mixture, which will hold the track in place prior to it being ballasted:

The old trackbed in the front of this picture will become a road.

Main Station Restored

The new tracks for the main station platforms have now been installed and the buildings put back:
The track will need ballasting, but that’s a job for another day:

The station is rather full of trains as the next bit of track to be updated is being lifted!

As a reminder, this was the view during reconstruction:
and with the platform tracks positioned, but not trimmed or glued down:

Corner Points

The Corner Points (61 & 62) have now been assembled from reclaimed handmade points and point motors fitted. These will go in the corner of the layout near the main station.

I’ve improved and simplified the assembly of these compared to the first station points. The first step is to cut and drill some 1.5mm thick black plasticard (this is used because it’s much the same thickness as the 1/16″ cork I use for the main track):

The hole on the left is for the point actuator wire, the holes on the right will provide electrical connections to the point itself. The plasticard is stuck underneath the point with contact adhesive, making sure all the holes line up!:

Like the previous points, a piece of 6mm plywood is stuck on the back of the plasticard, and the point motor screwed to this:

The other points use the same method, with the right hand points sharing one piece of plasticard:

After a coat of paint over the sleepers, the completed assembly is ready to be installed on the layout: