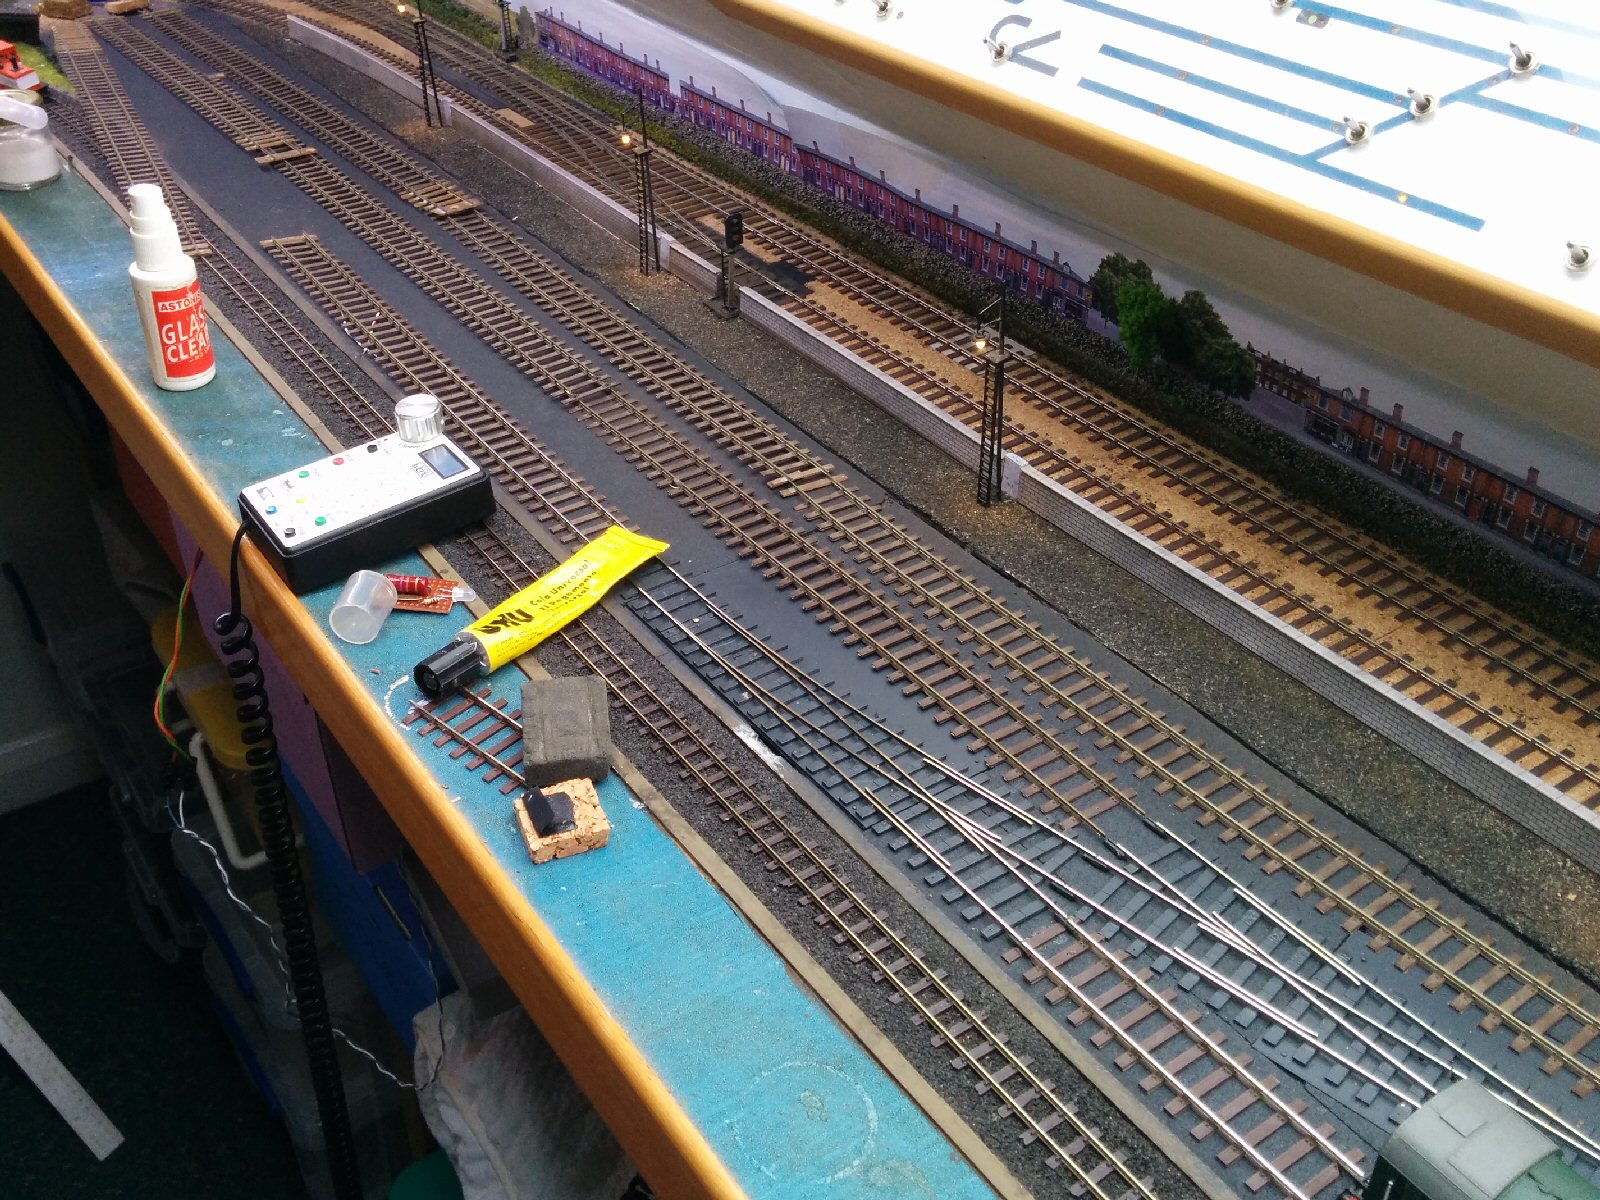
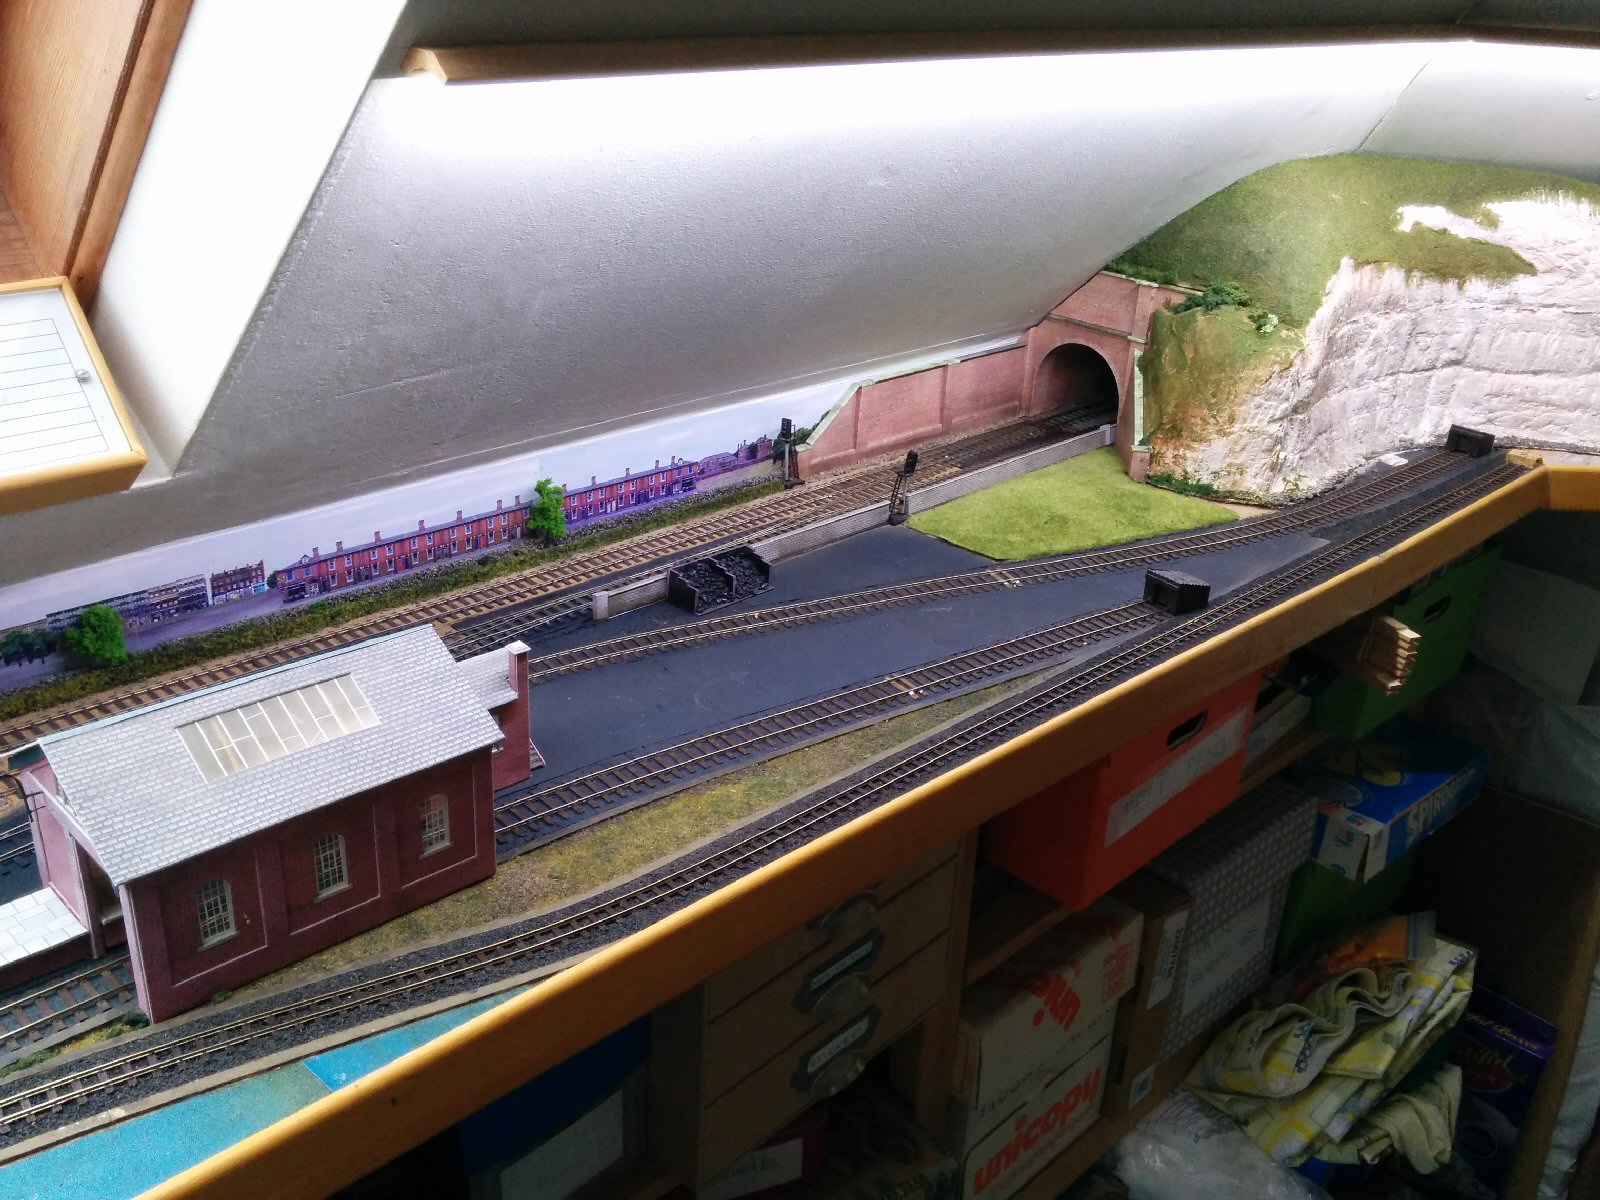
The tracks from the halt to the country end of the layout have now been positioned and fixed. Ballasting and tidying up the adjacent scenery will be done in due course!
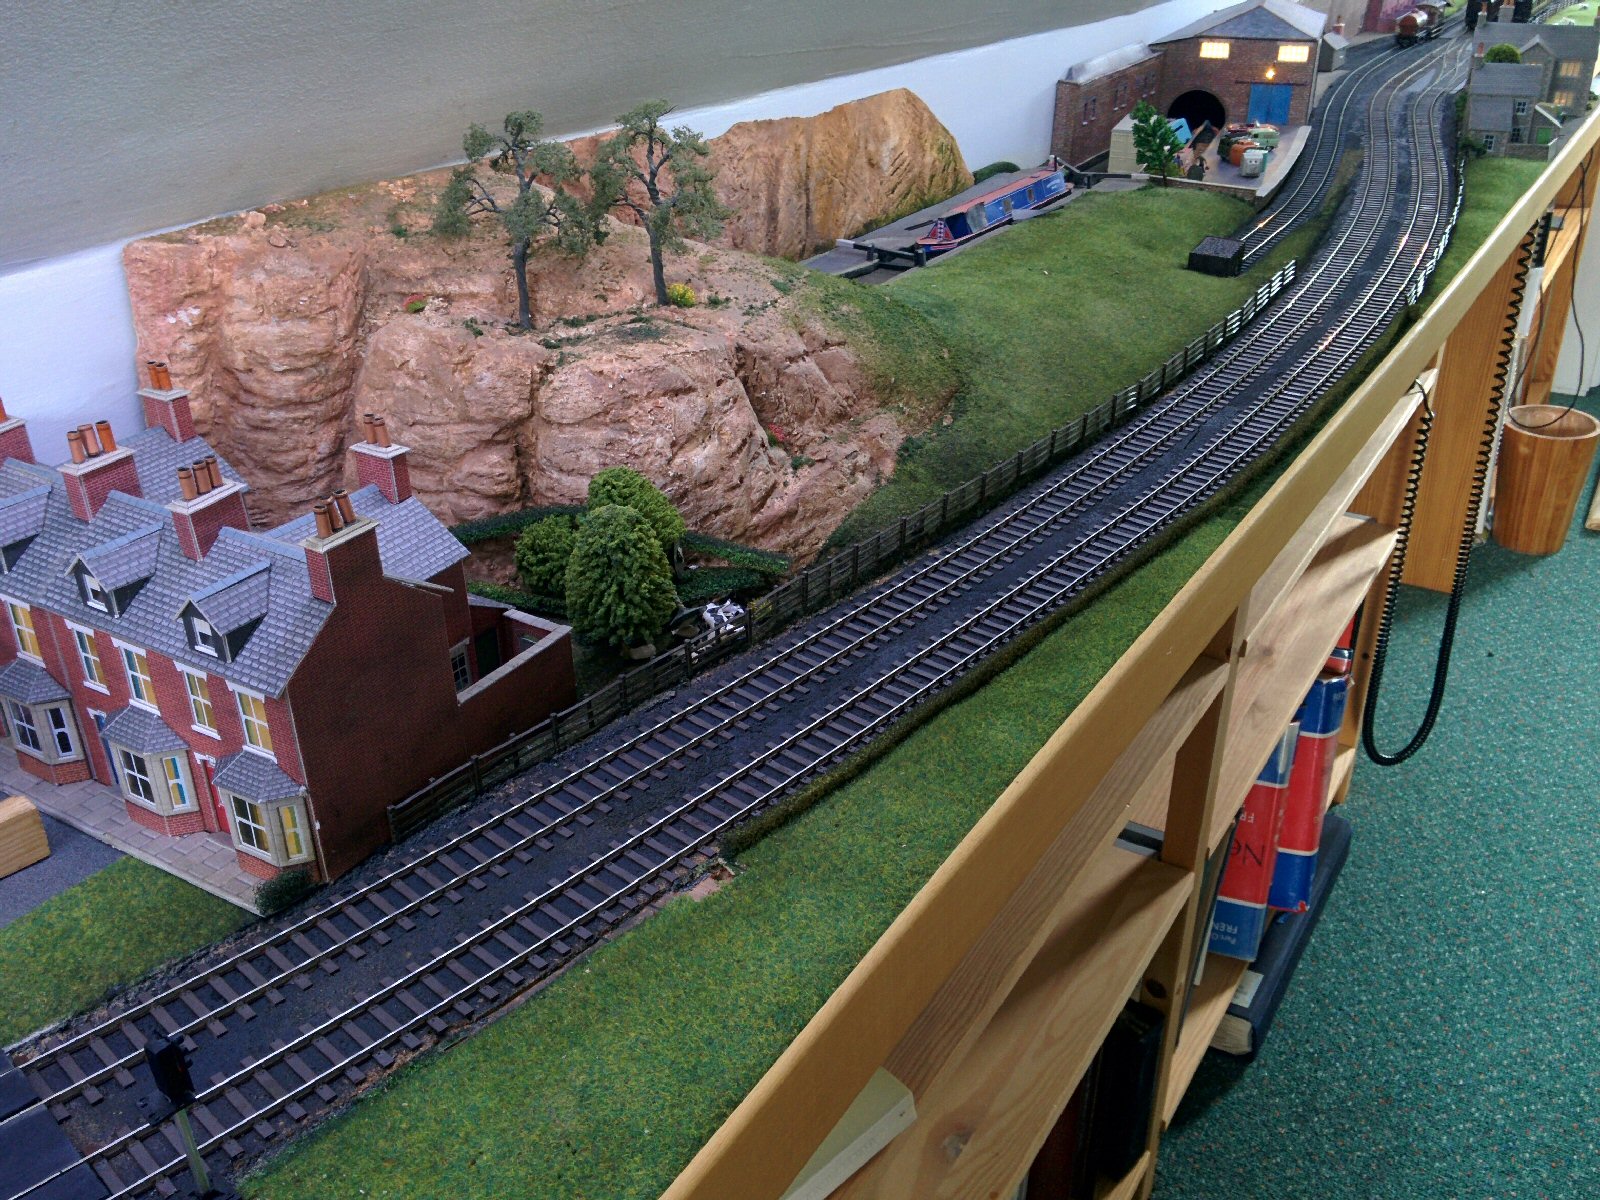
It’s nice to have the railway back to a functional state again.
News from the Wheeler Model Railway
The tracks from the halt to the country end of the layout have now been positioned and fixed. Ballasting and tidying up the adjacent scenery will be done in due course!
It’s nice to have the railway back to a functional state again.
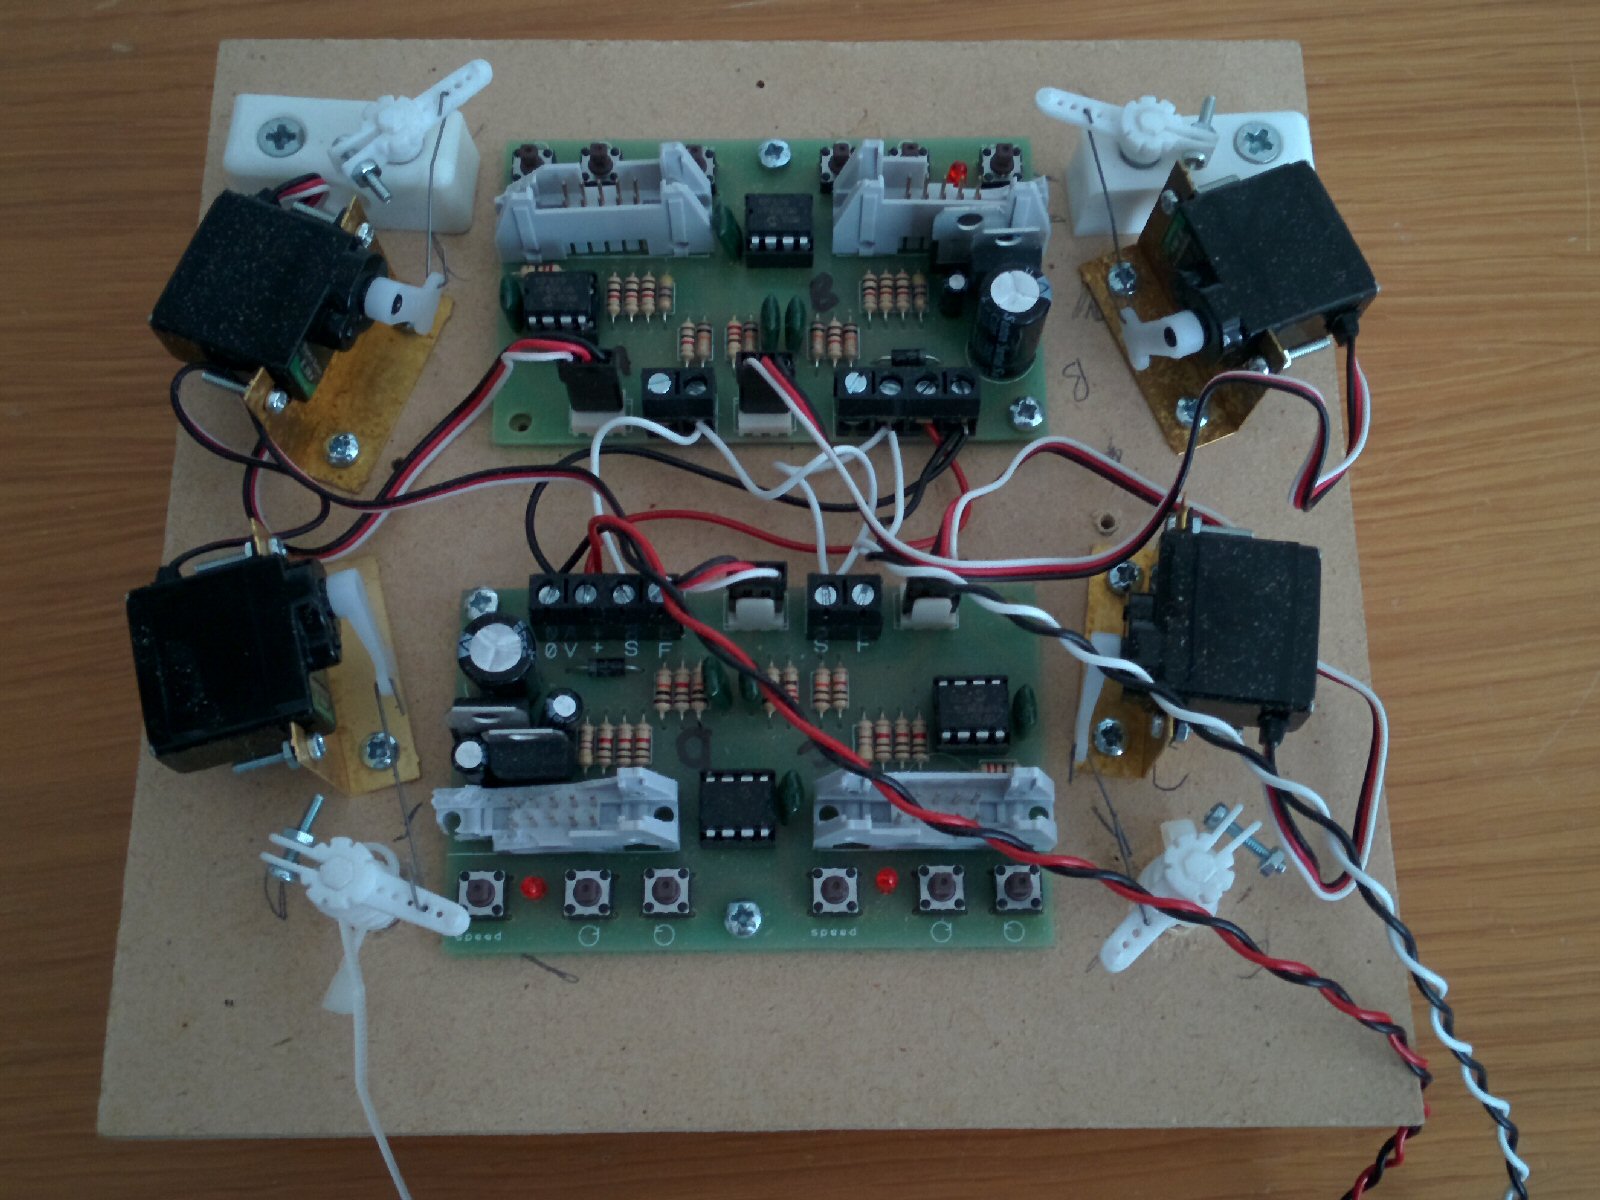
As part of the new track installation, the intention is to have the gates of the level crossing driven by servo motors, and a rough prototype was constructed to test this: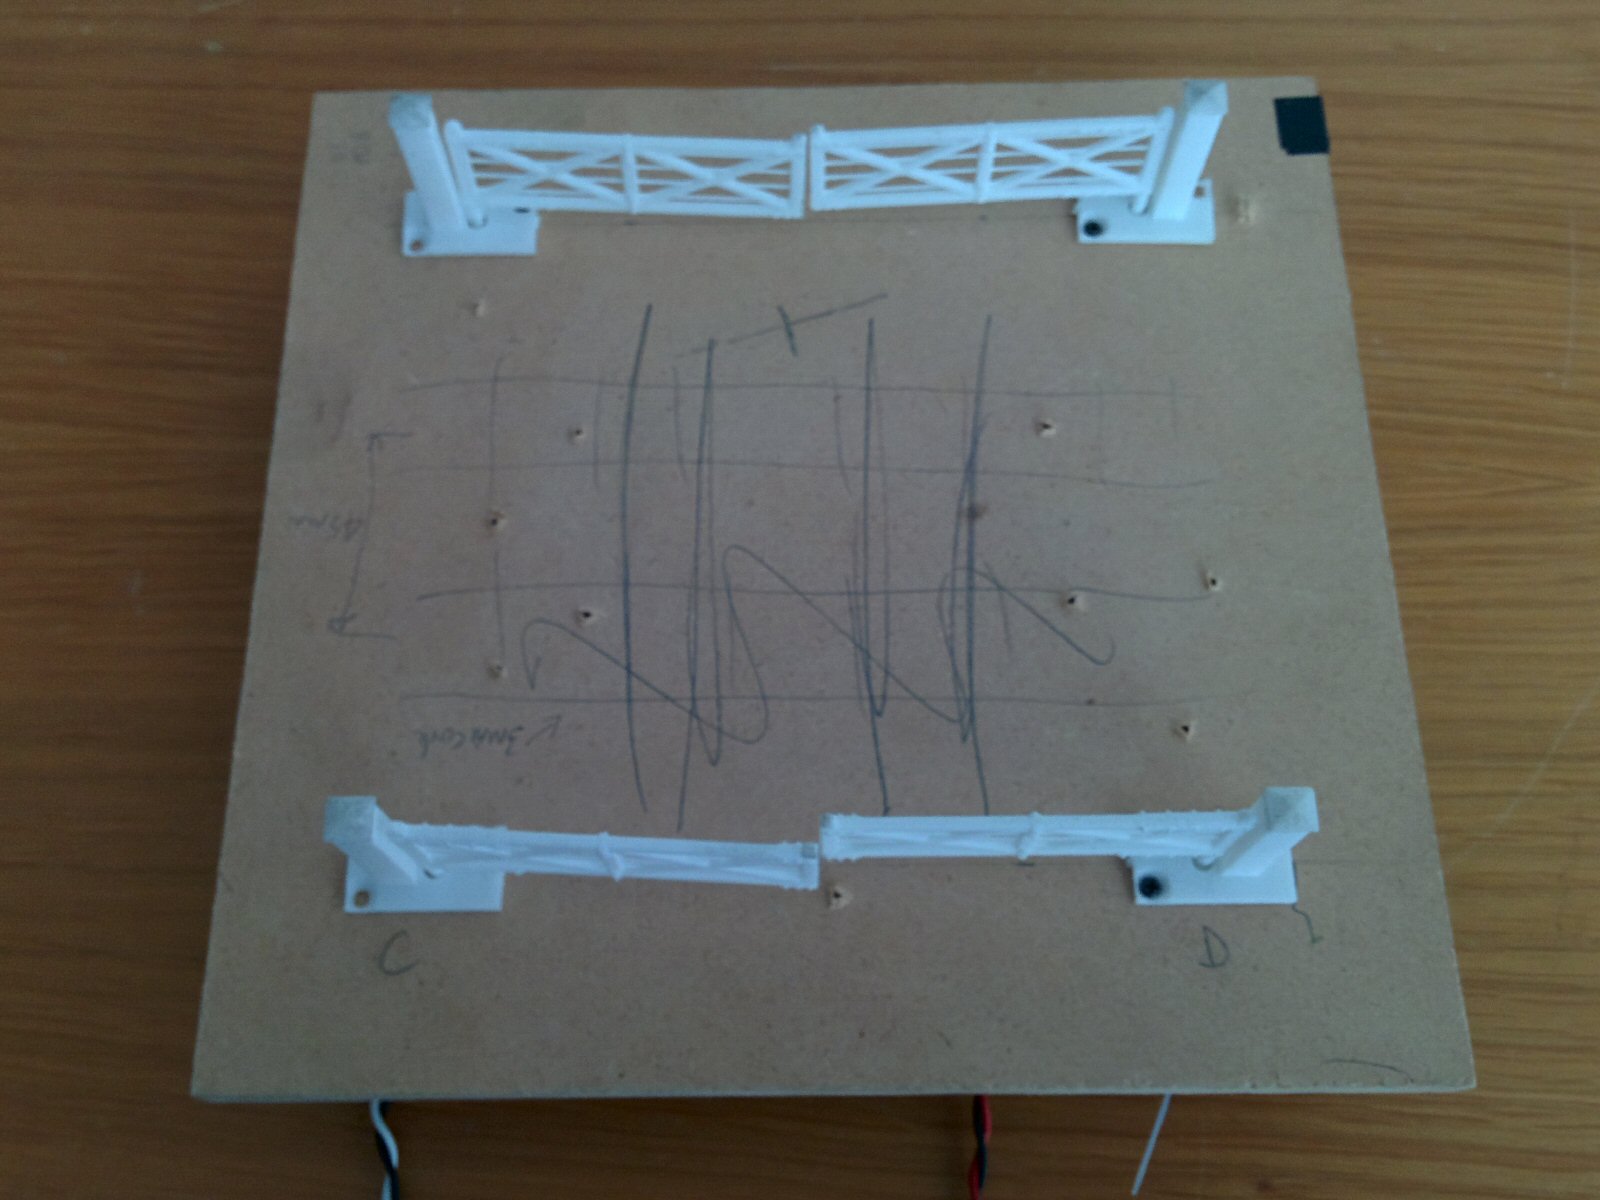
The next stage was to work out how fix the level crossing, gates, servos and rails on a removable plate, as the mechanics are far too complex to work on under the layout…
A suitable hole was cut in the baseboard:
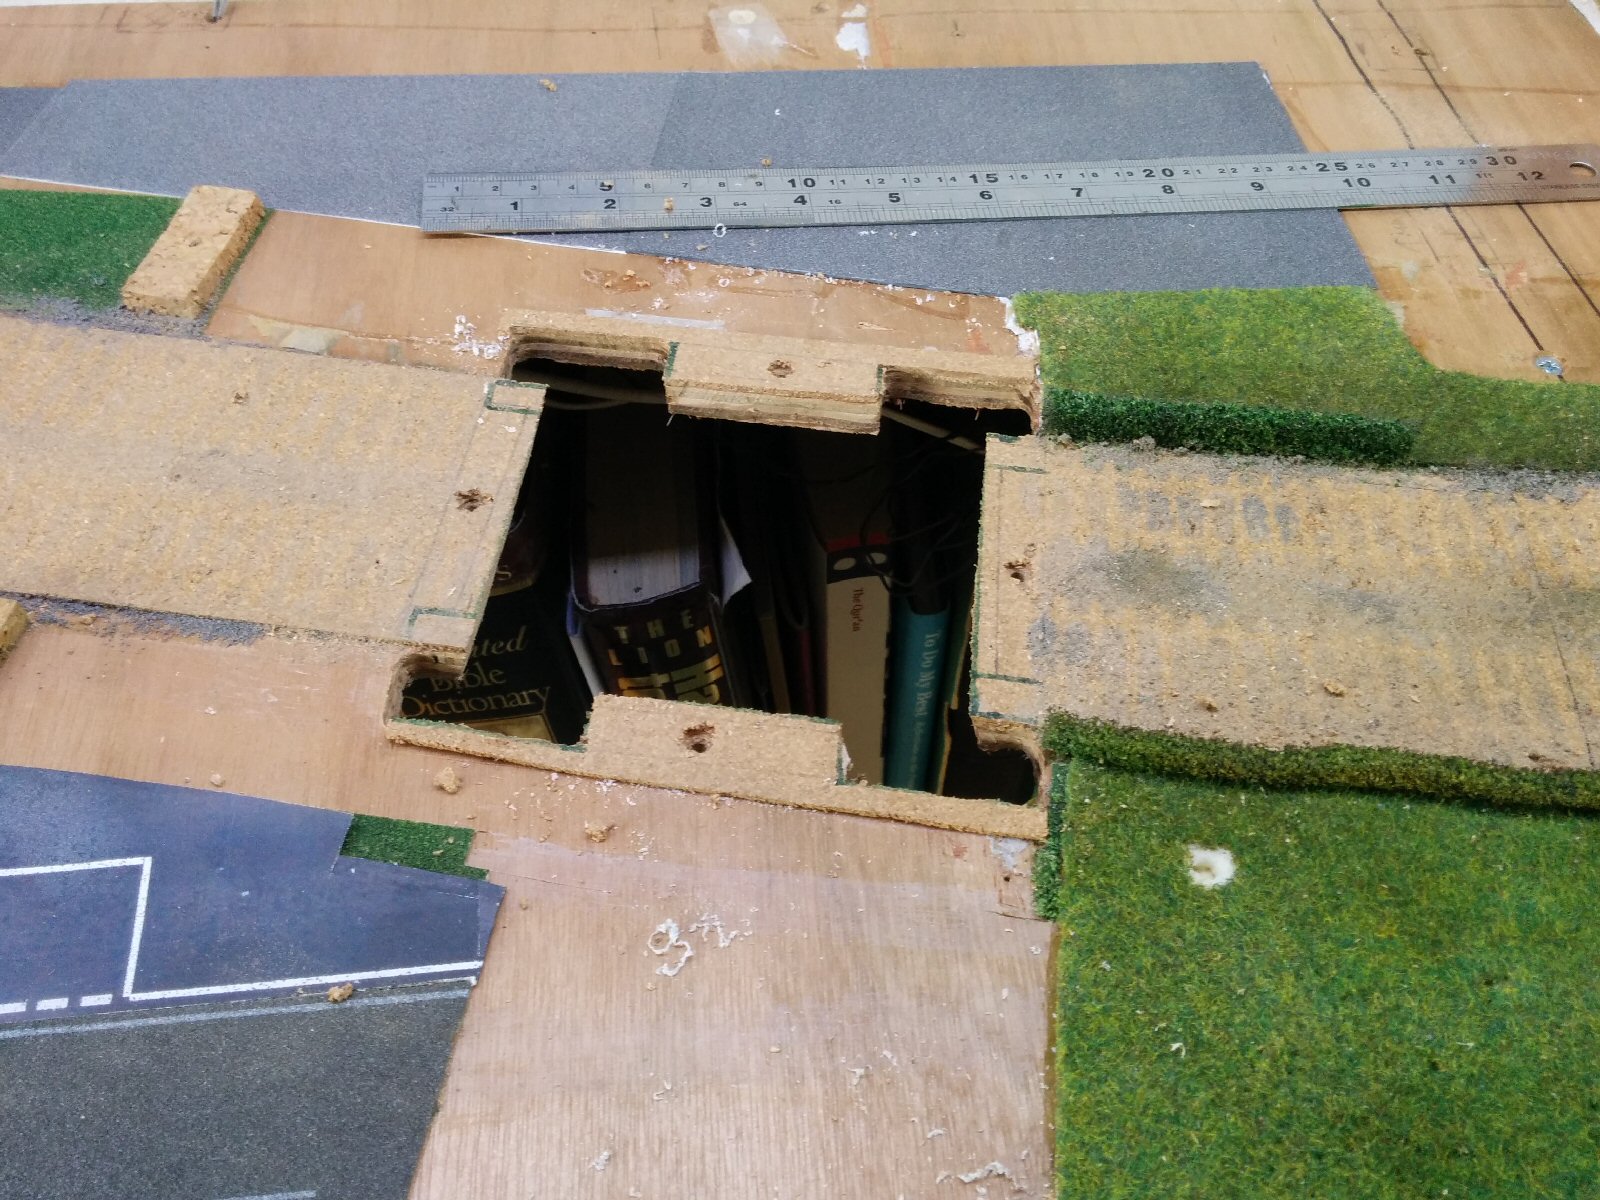
This double sided glass fibre board has the rails soldered on, and will have the gates mounted on top, with the servos underneath.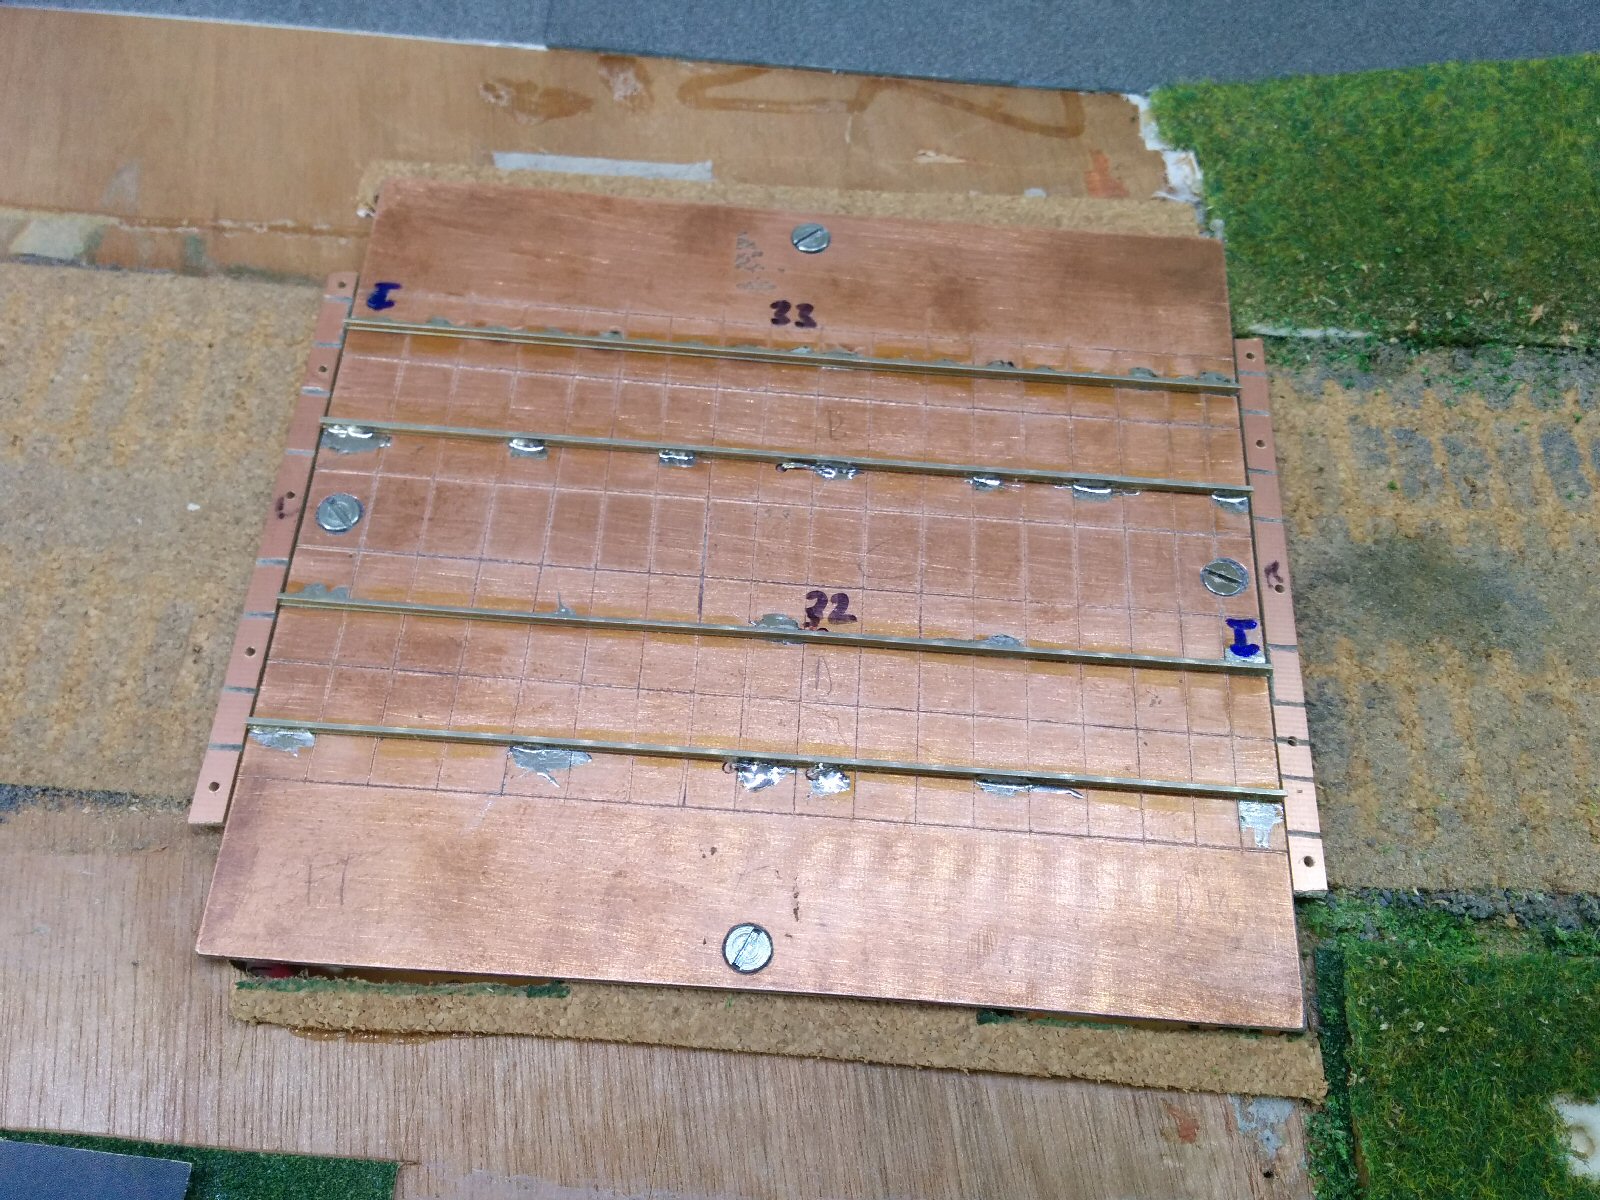
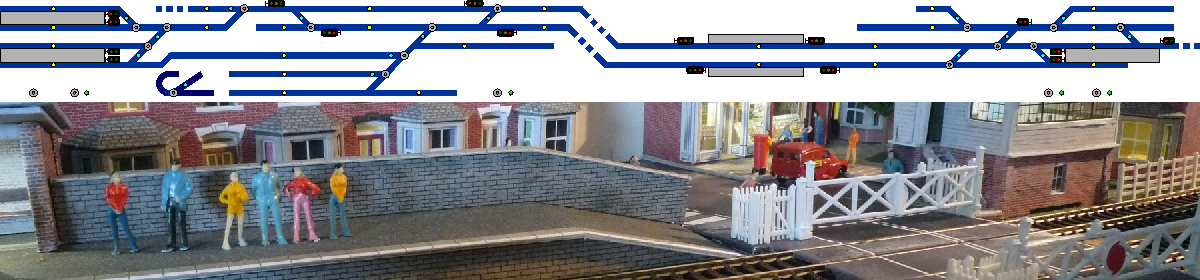
Plastic card will cover most of this and make it look more like a road:
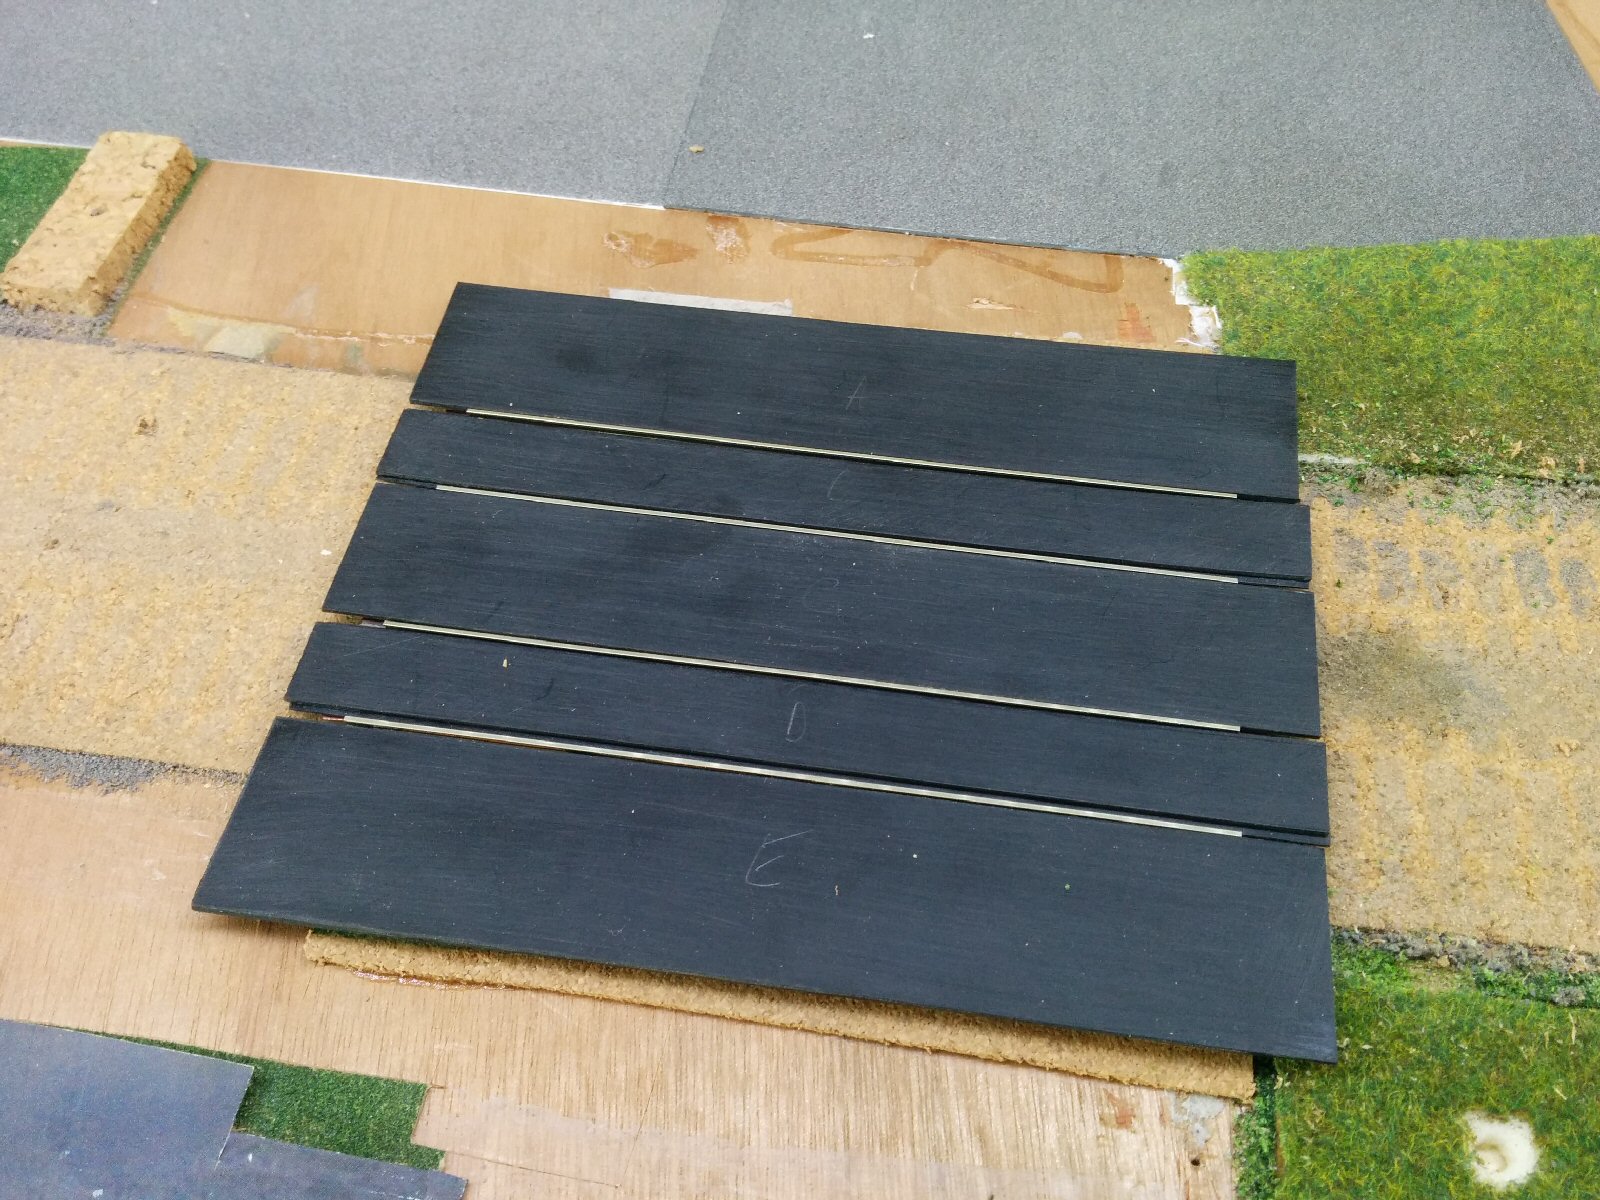
The main tracks were then soldered to fixed copper strips each side of the level crossing board, keeping the alignment with the removable part correct.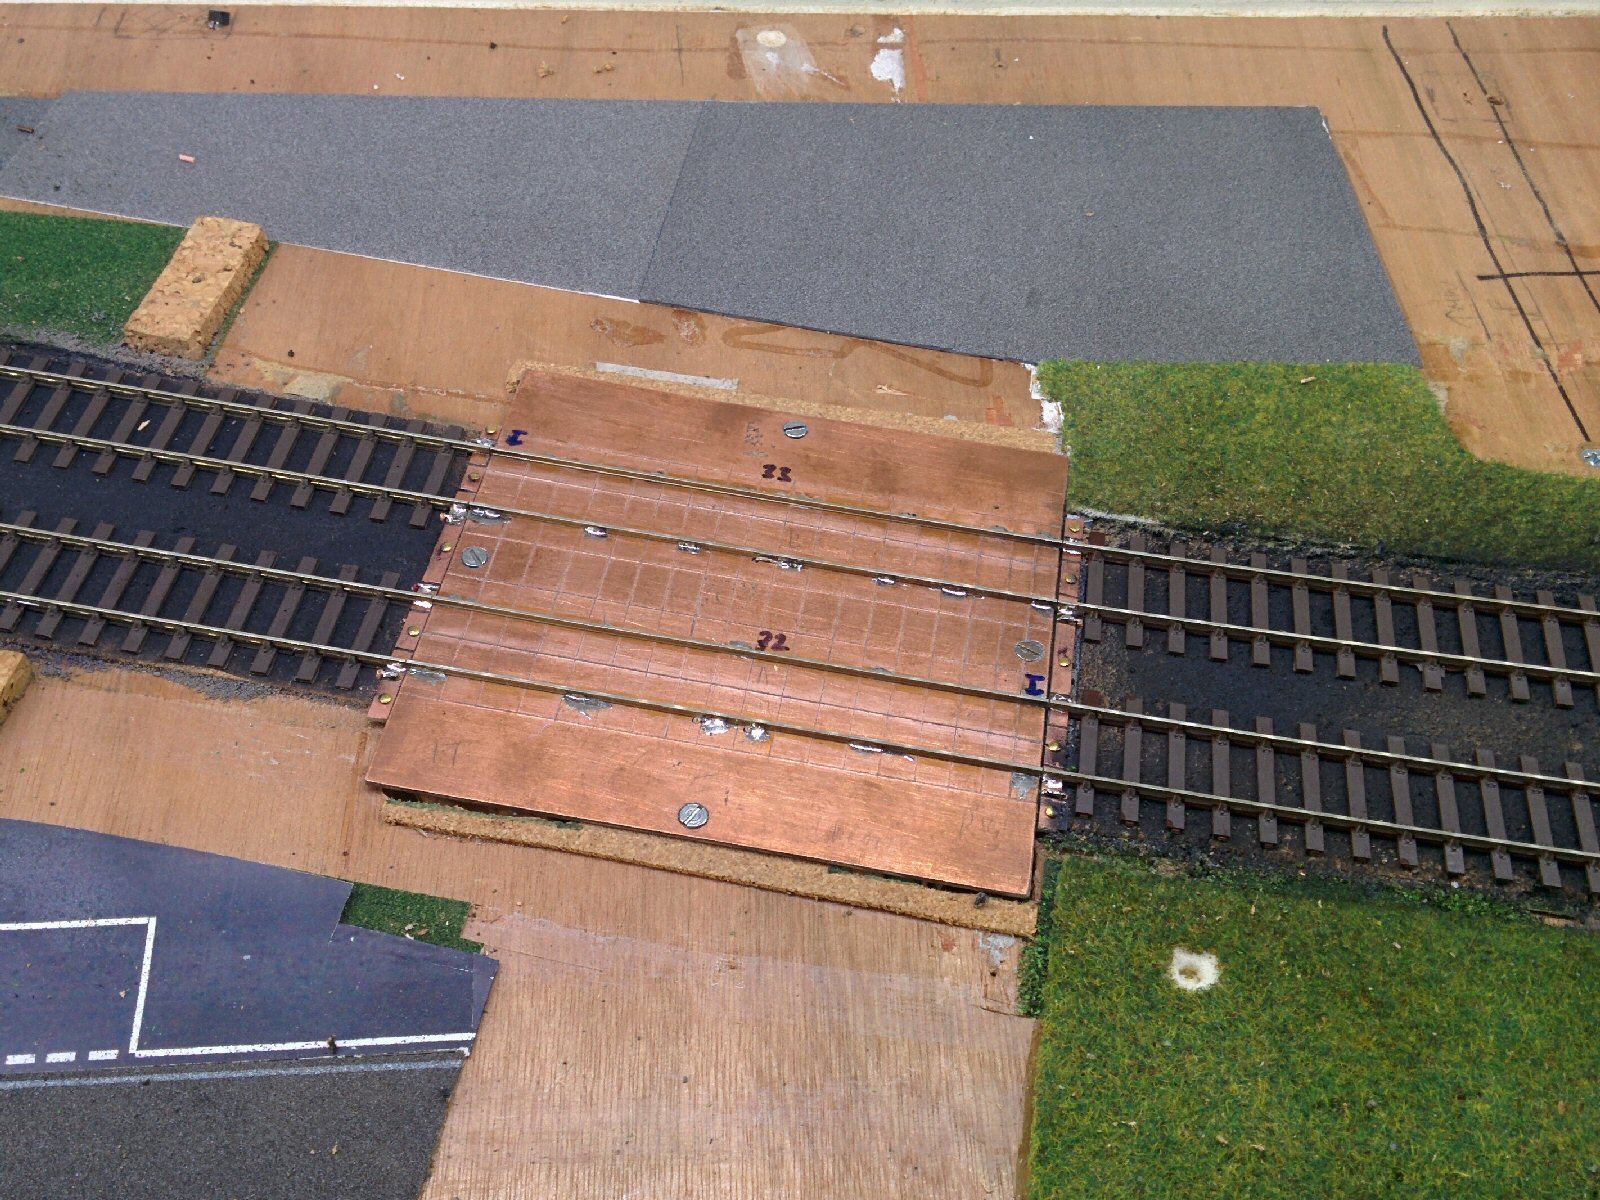
The covers nicely hide the soldering!
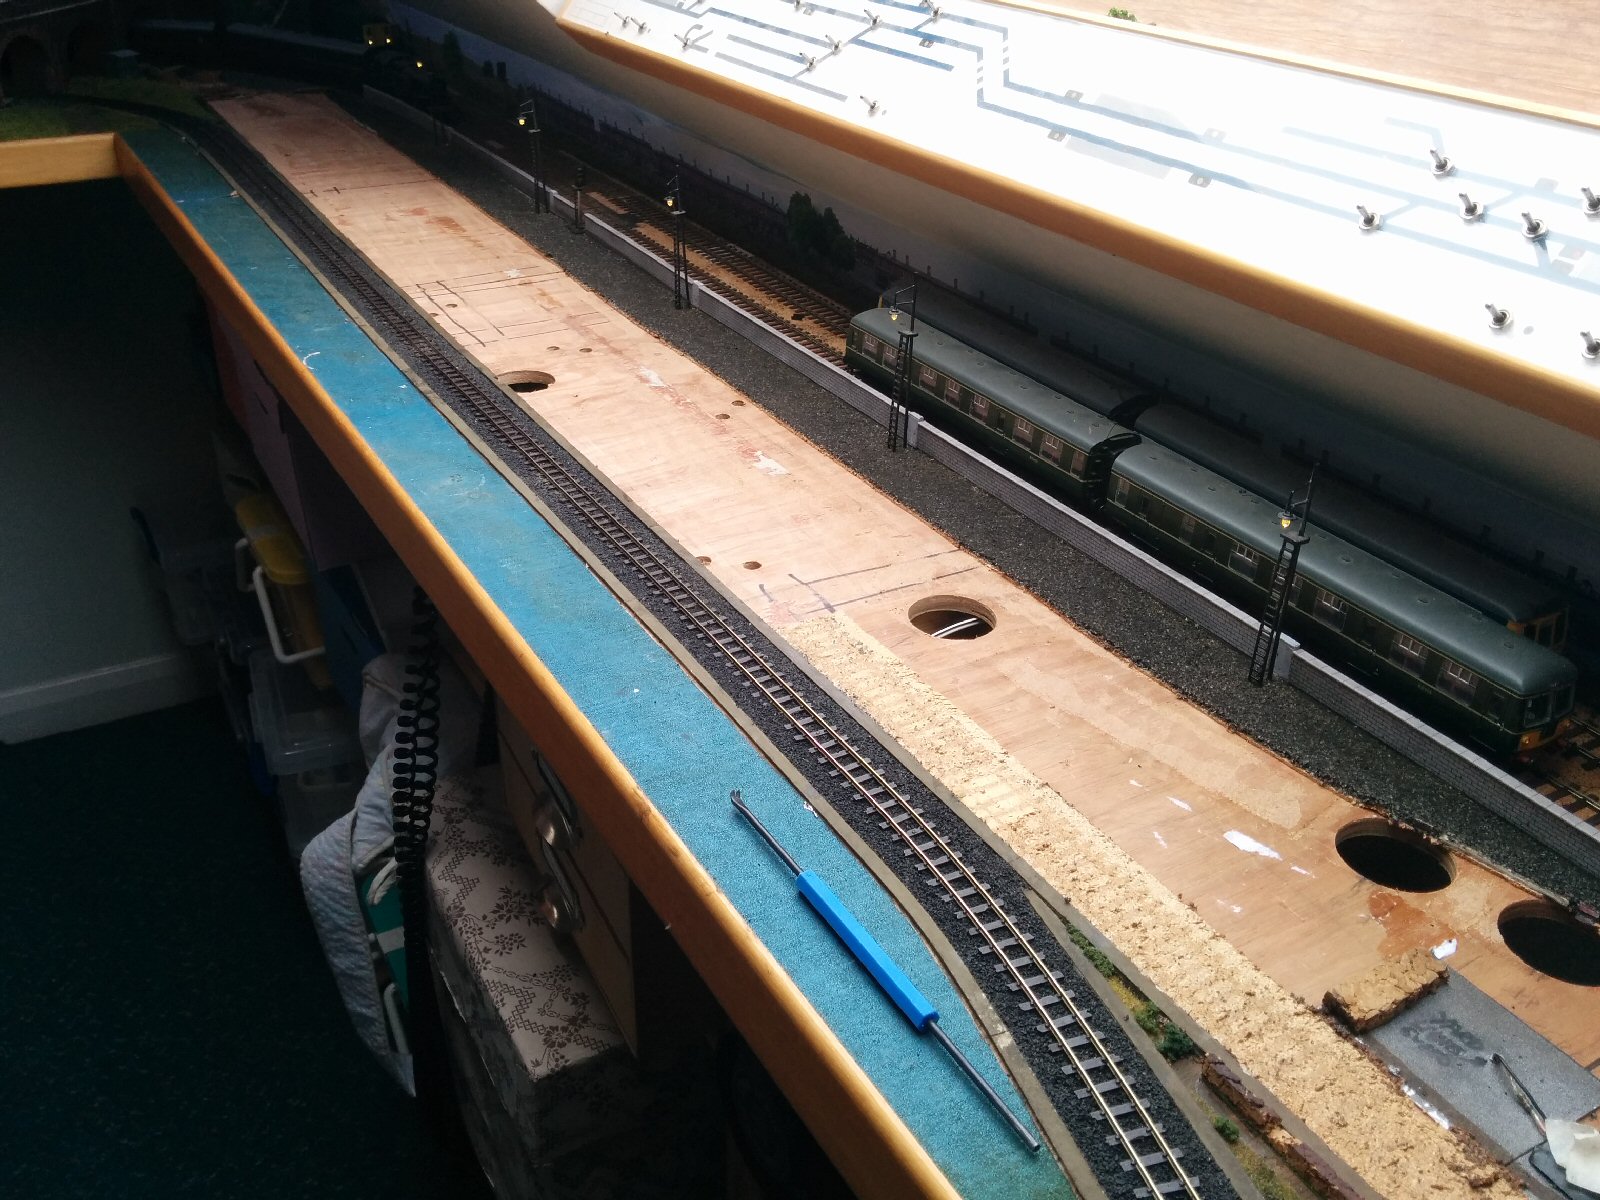
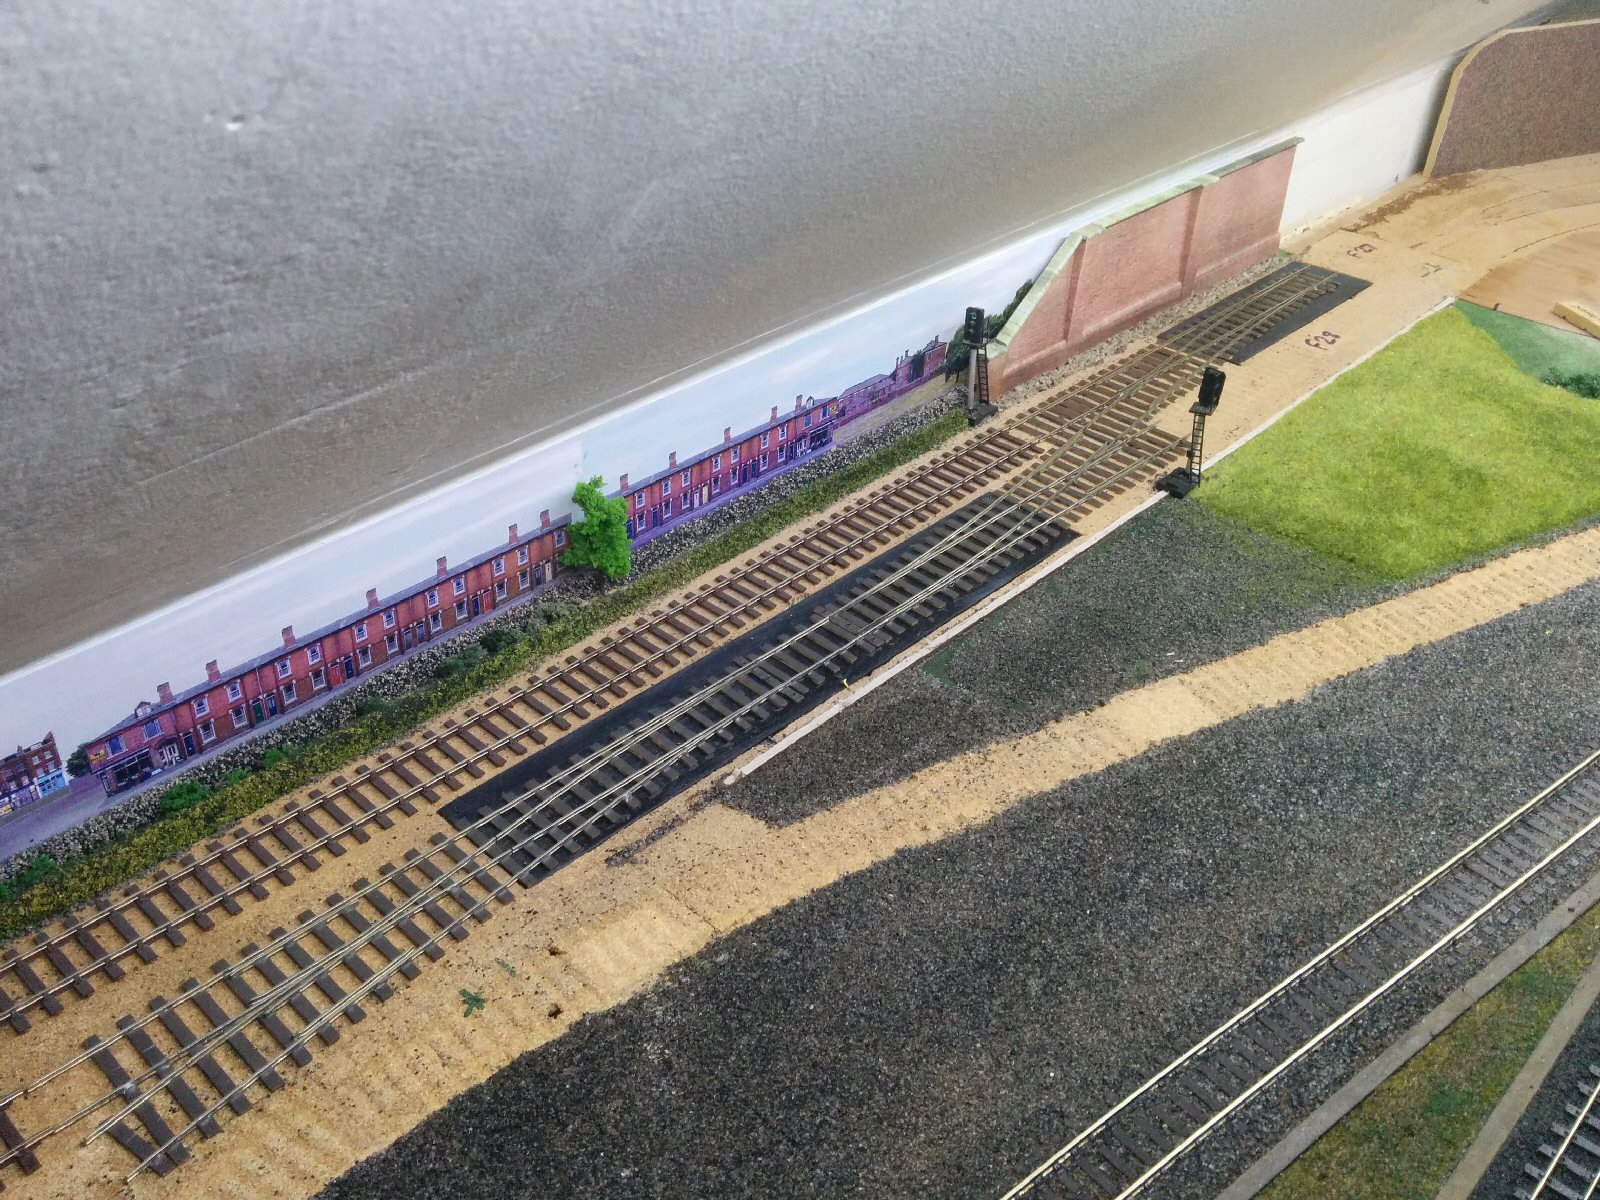
Once this track was in place, new track could be laid towards the Country Station – this has not yet been fixed down: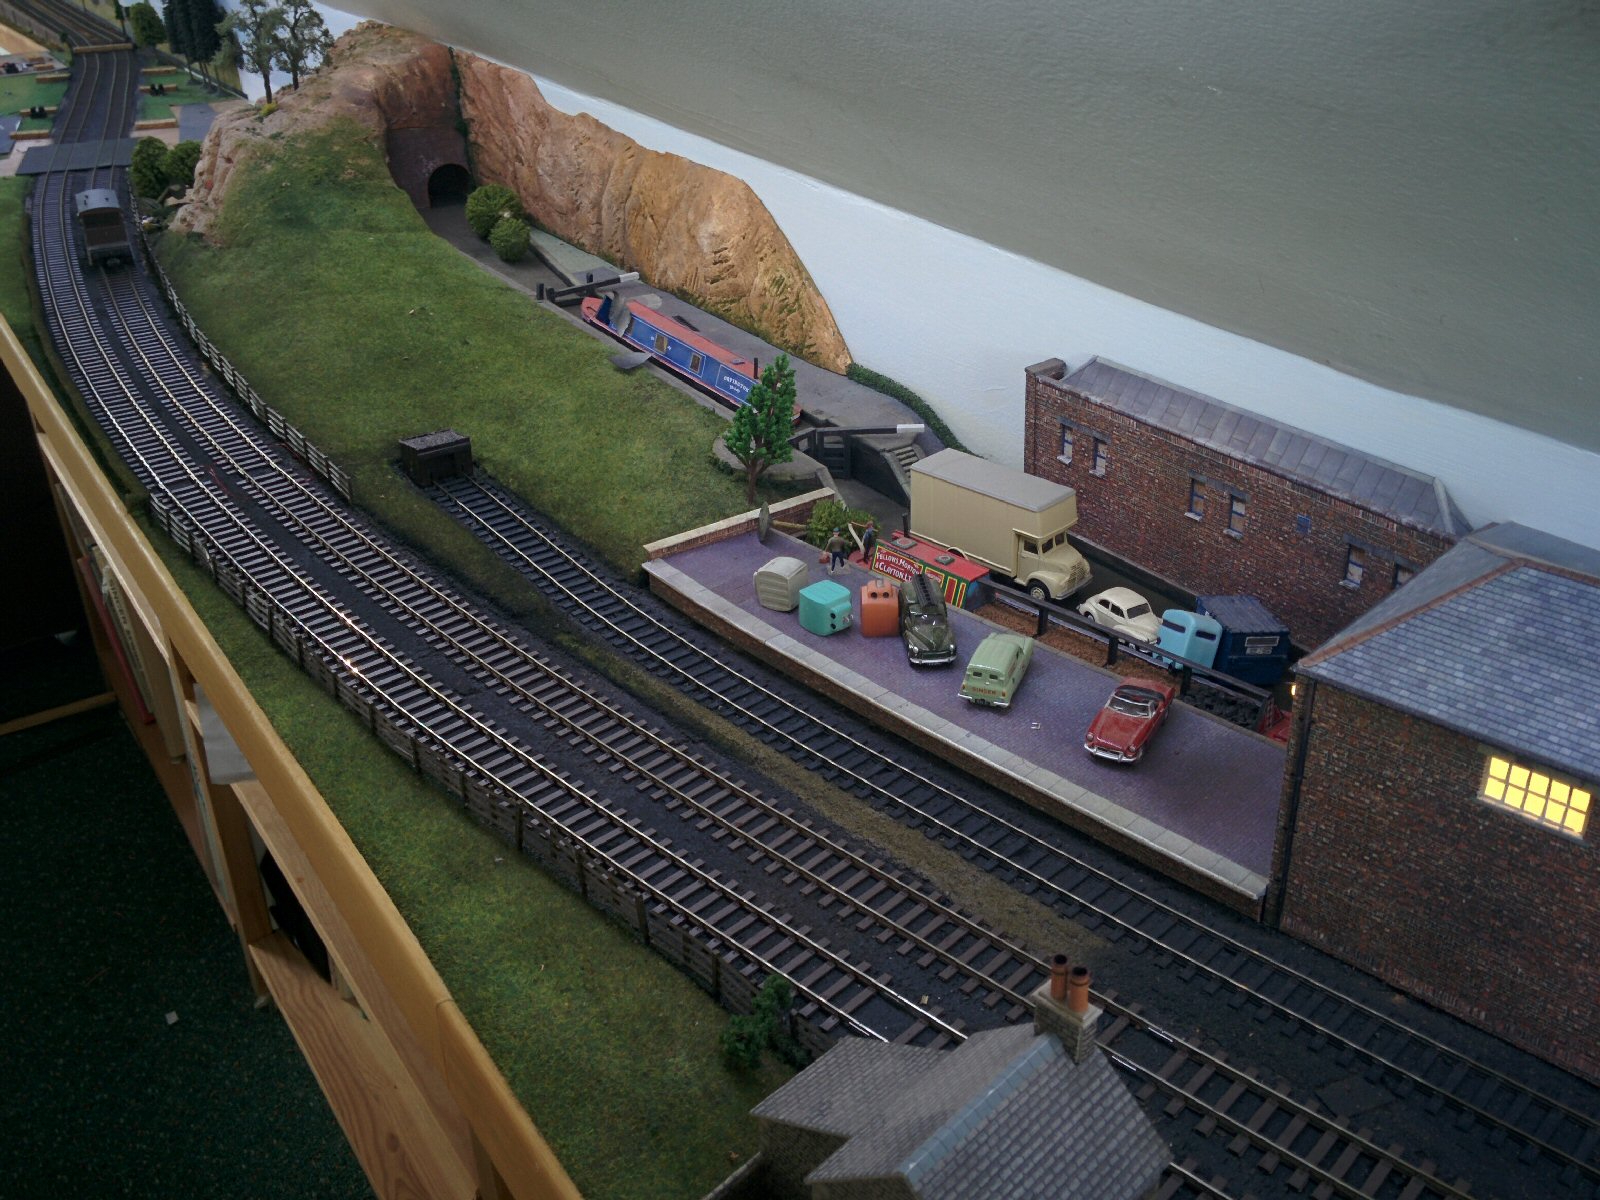
And track laid (but not fixed down) for the halt platforms: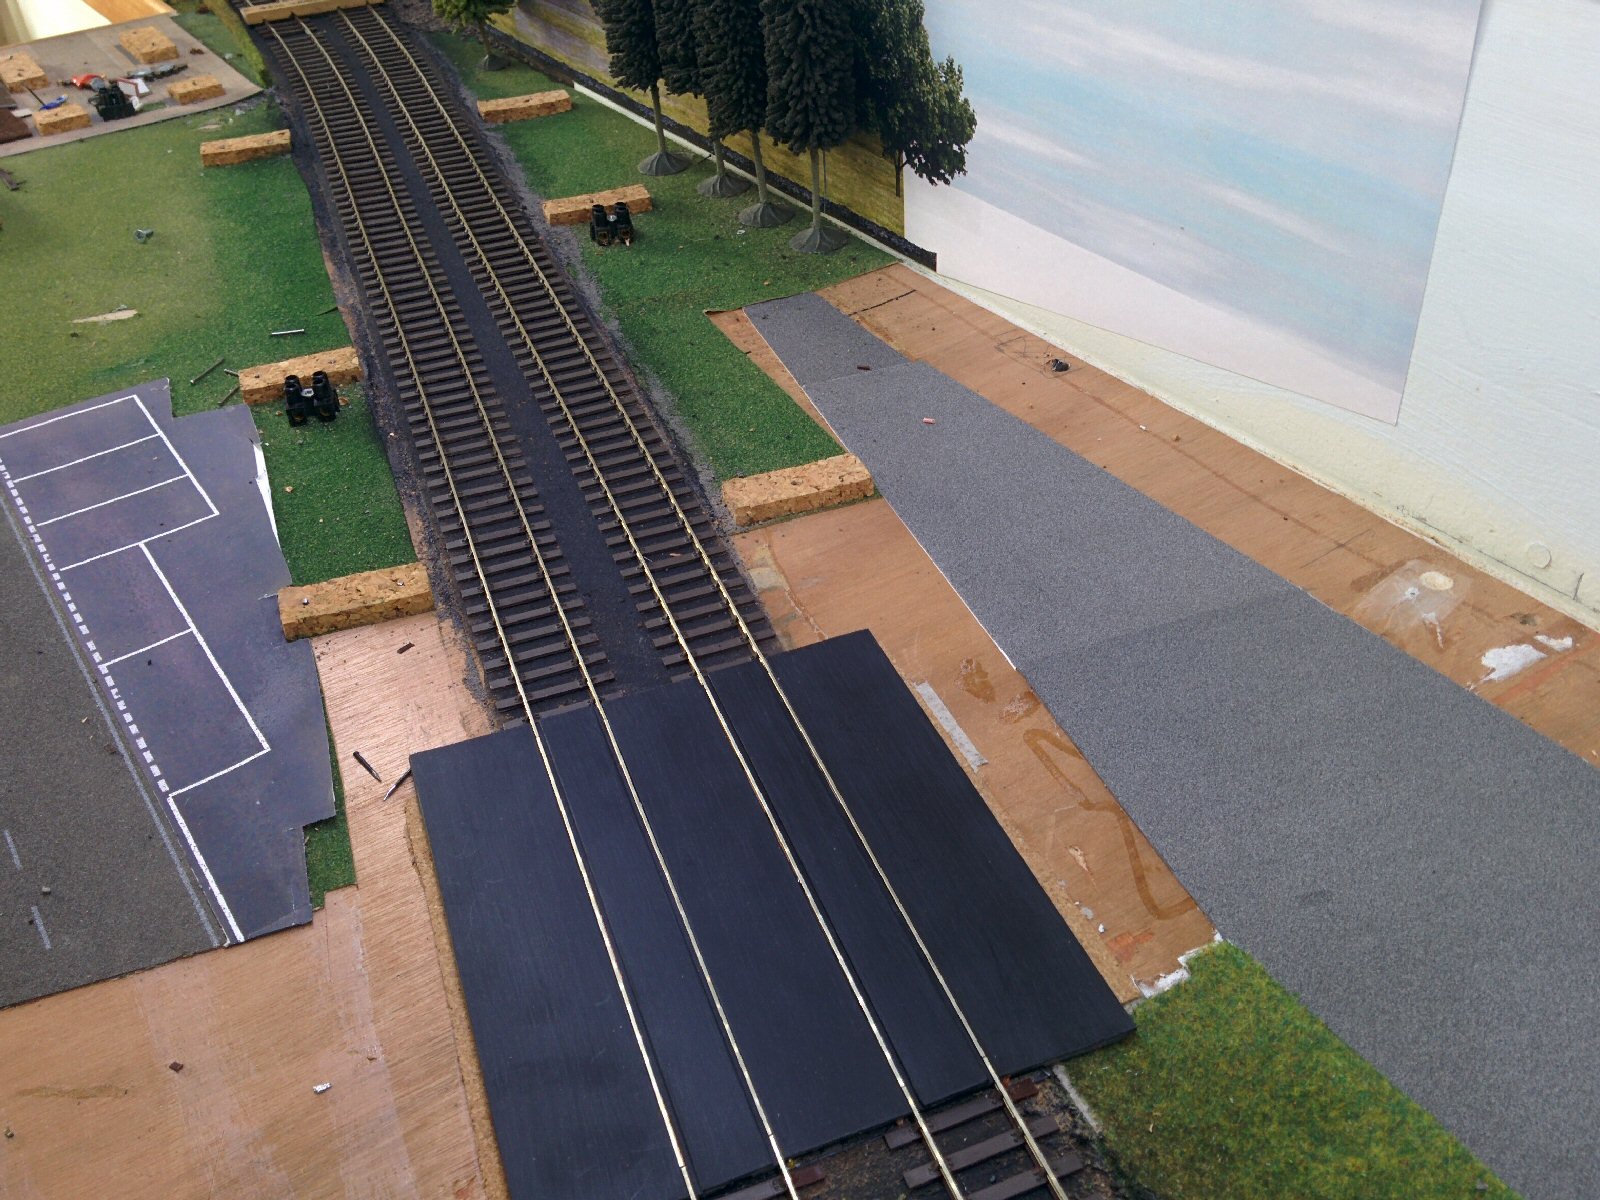
The track at the town end of the platforms still needs to be joined to the rest of the layout – a project for later.
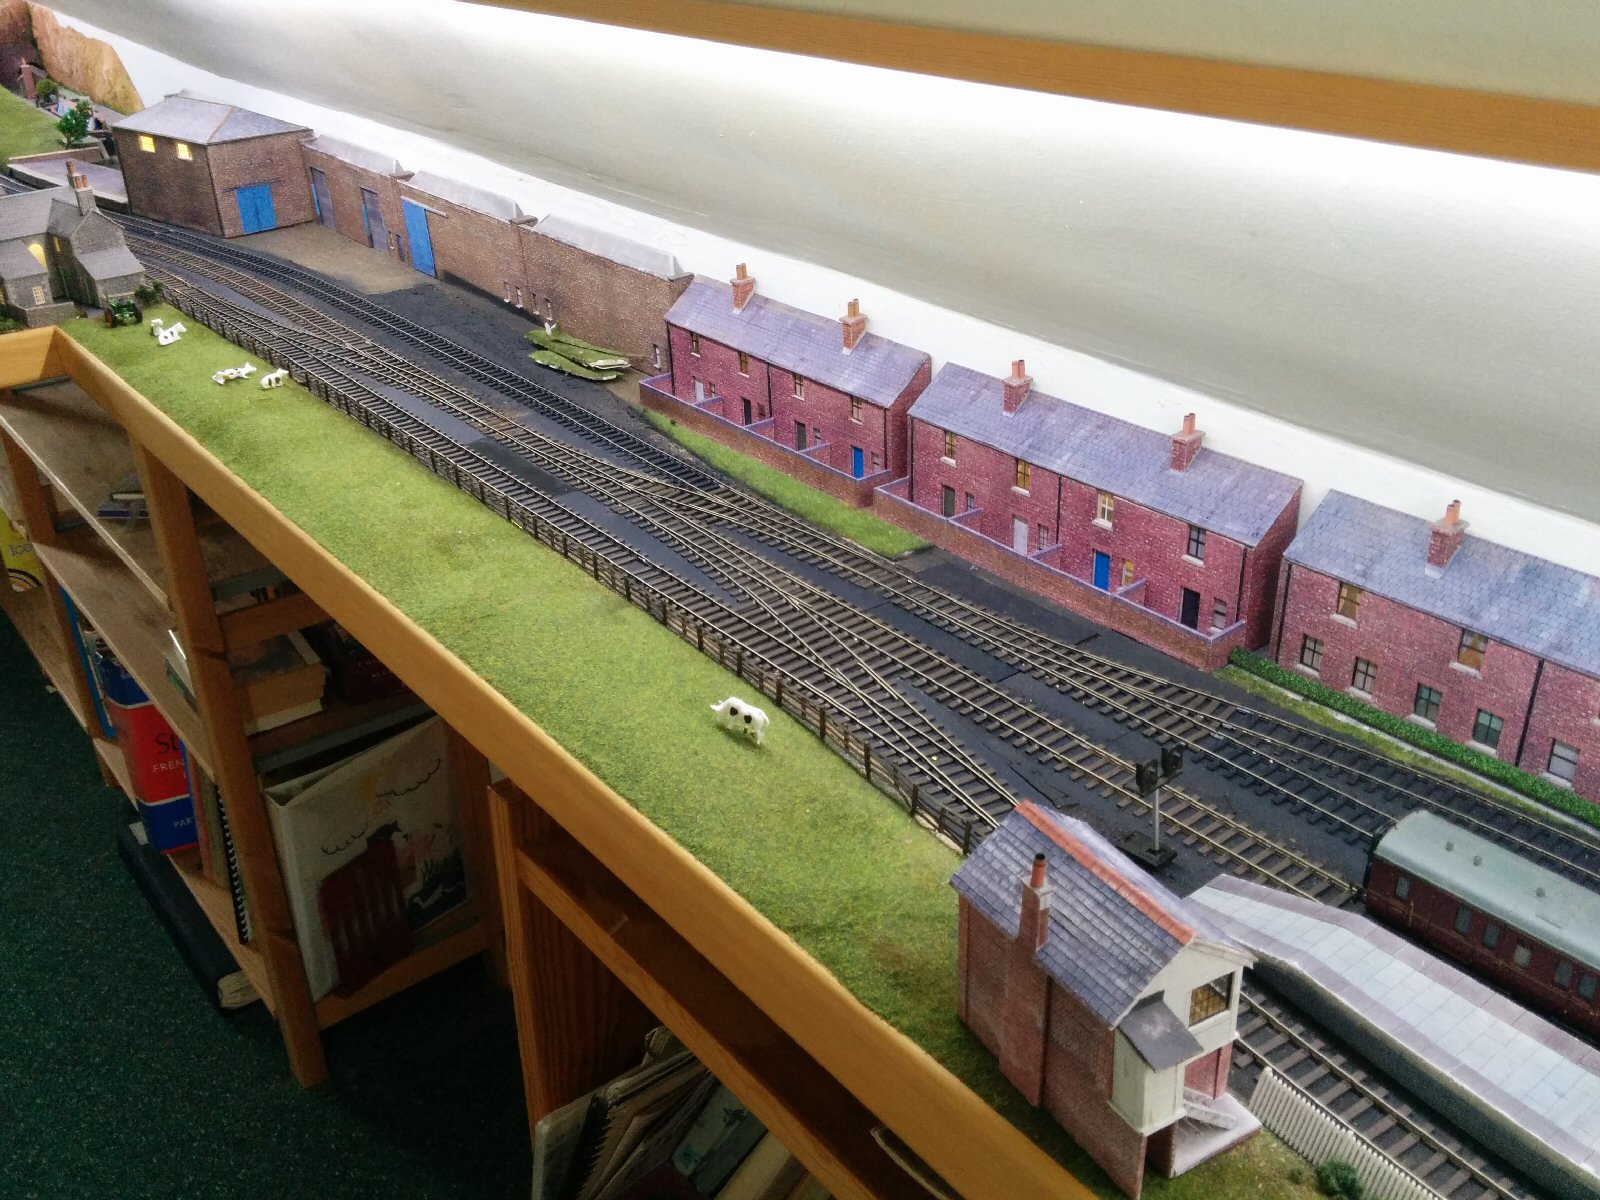
Even though these photos probably don’t look very different from the last post, quite a lot has changed. The track at this end of the layout has now been positioned and fixed, and the scenery is (slowly) being restored.

The next stage will be to ballast the track…
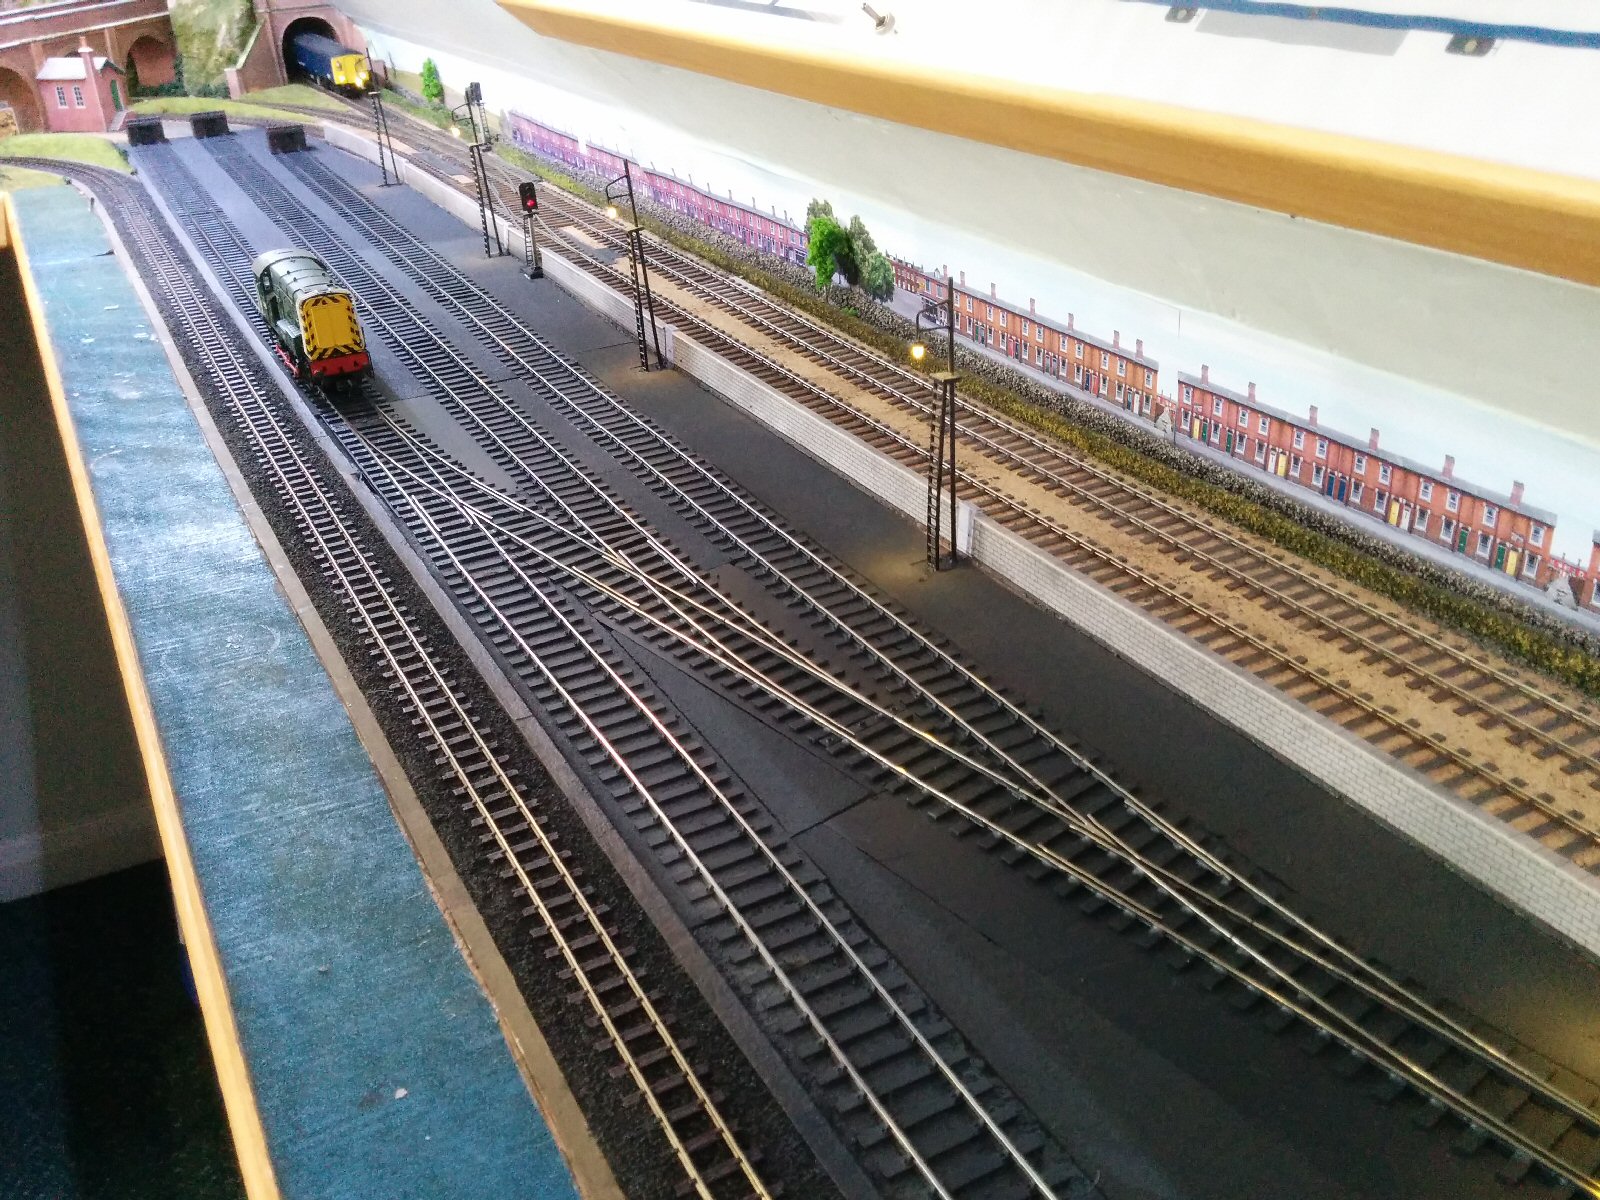
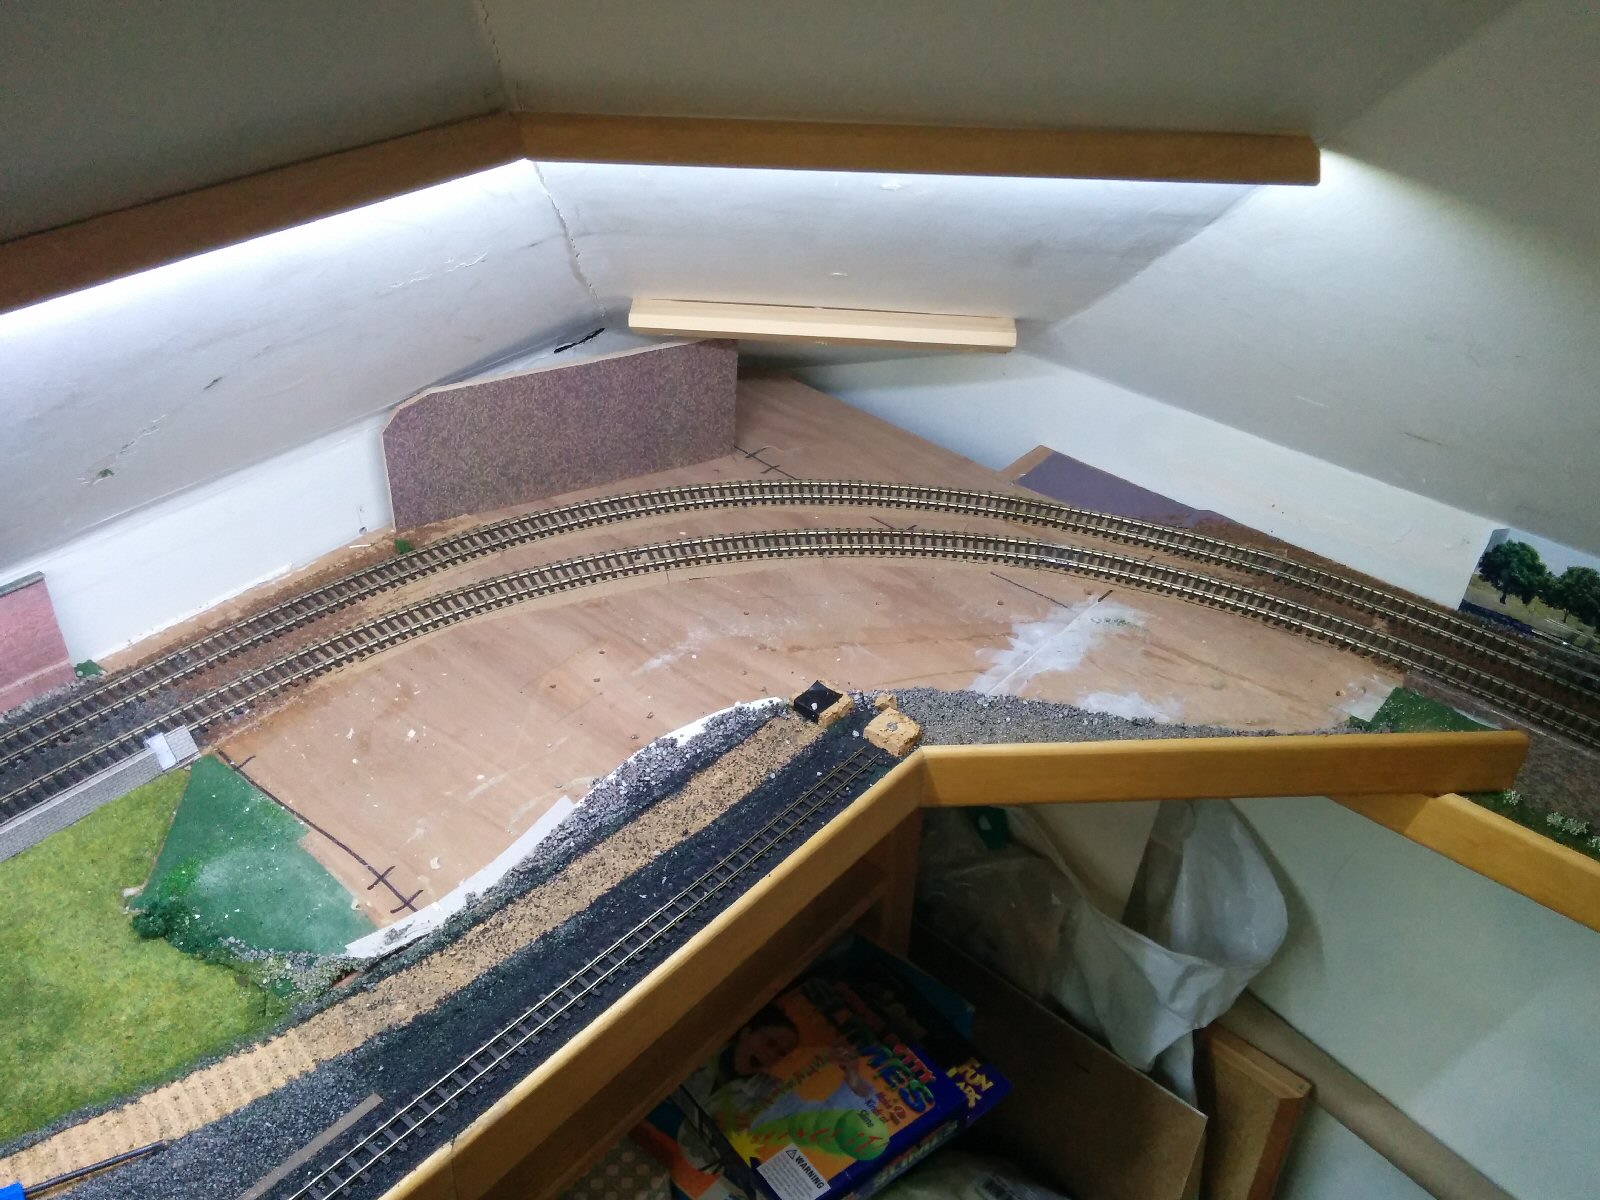
The tracks have now been positioned at the country end, but not fixed down yet:

New points for the country end of the layout have been made from the reclaimed points: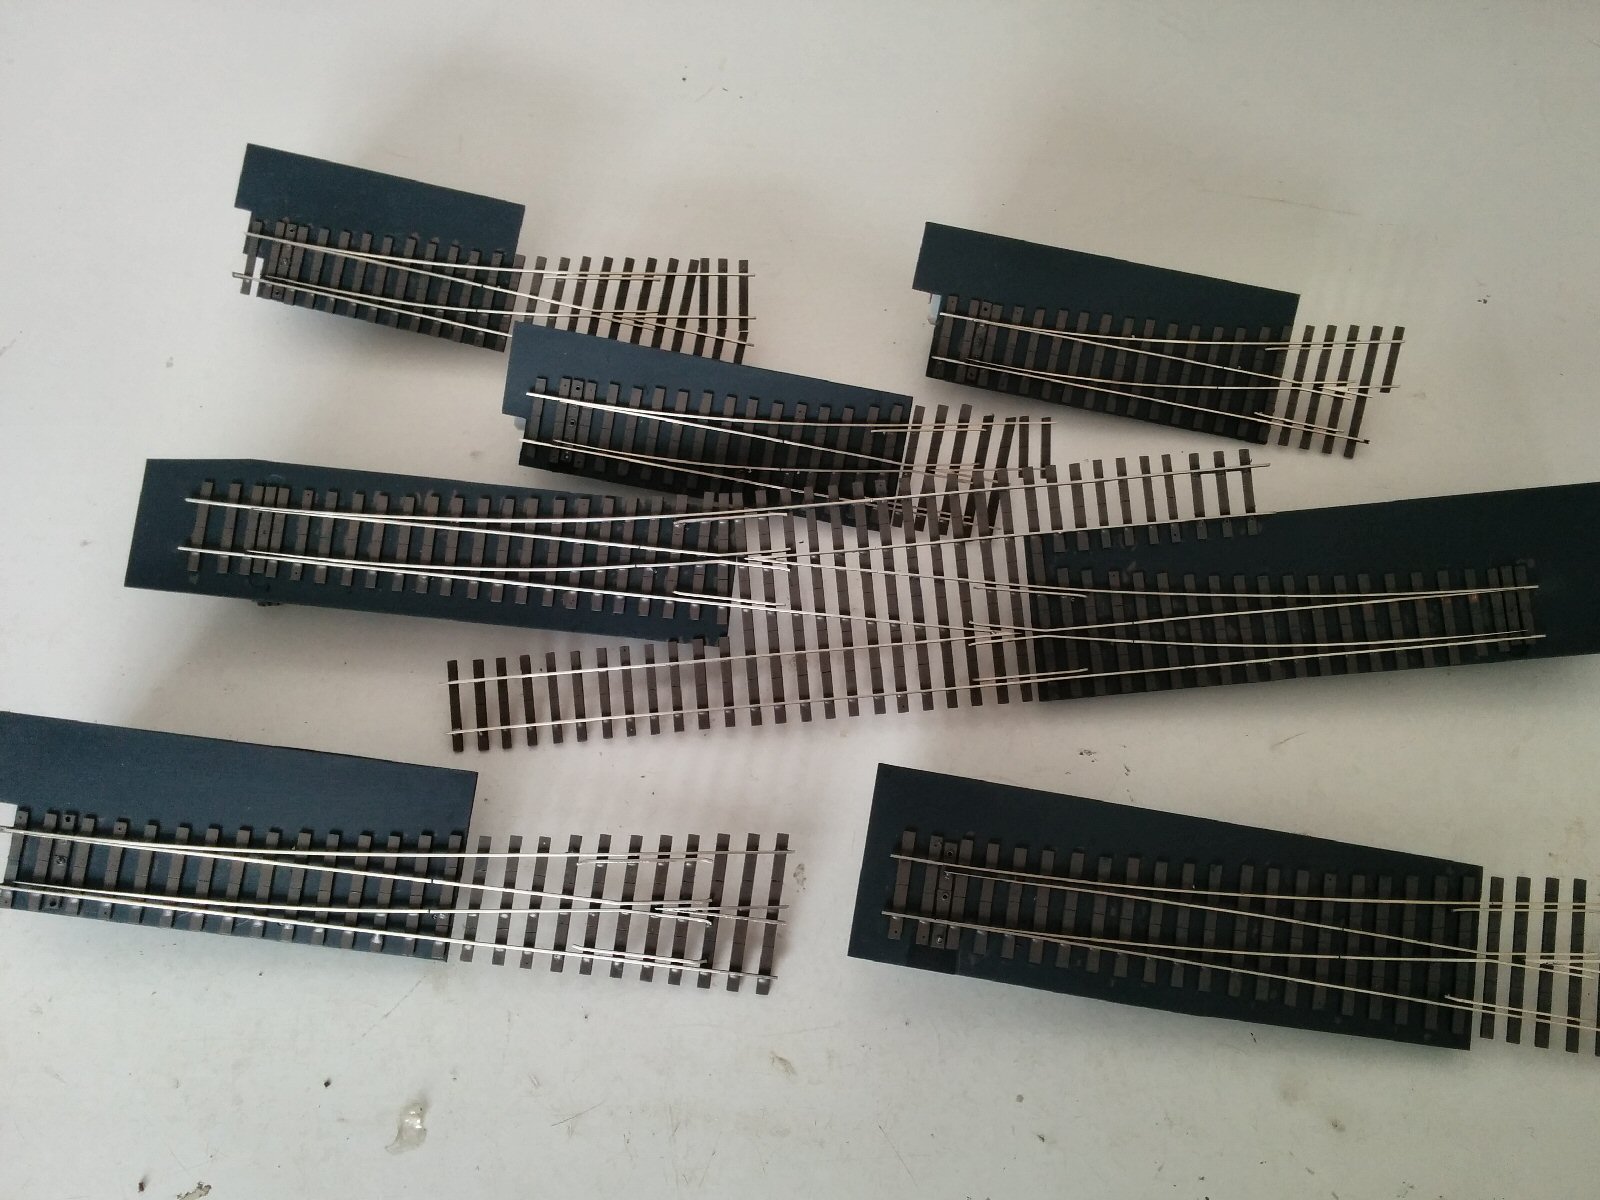
and point motors added underneath:
The old track and points have been stripped from the country end of the layout: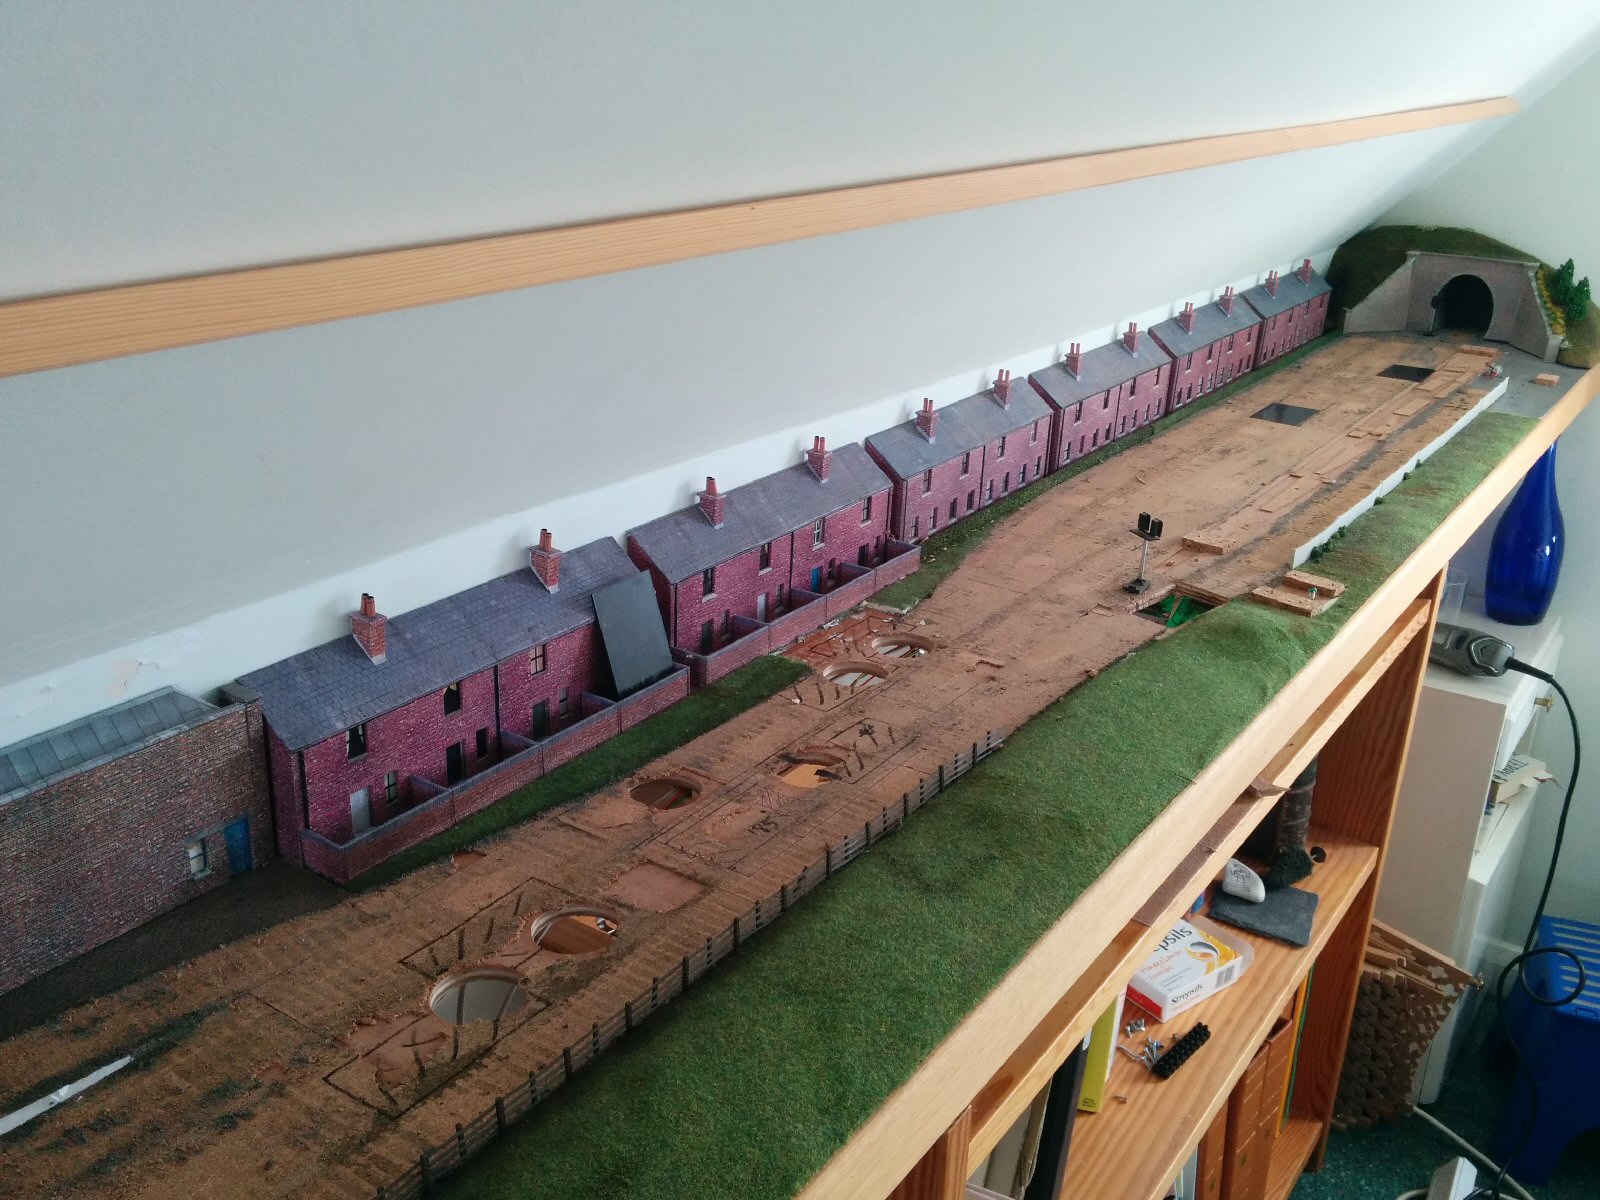
Once the holes for the new points were cut (a messy job!), the area was sprayed with primer and the new points laid:
Unfortunately, a couple of point motors ended up across a strut, and an extension arm had to be installed to connect the motor to the point blade (on the right in this photo):

Once all the points for the goods yard were made and fitted, it was time to rebuild the Goods Yard itself. The first job was to remove all the old track and ballast (the holes in the baseboard were for the old point motors):
New cork sheet was fitted, then sprayed to give a background colour:

The points were fitted first:

Then new (reclaimed) track fitted:
It was difficult getting the sleeper spacing right, so I made a crude jig from cardboard. This also helped when I was jointing lengths of track:
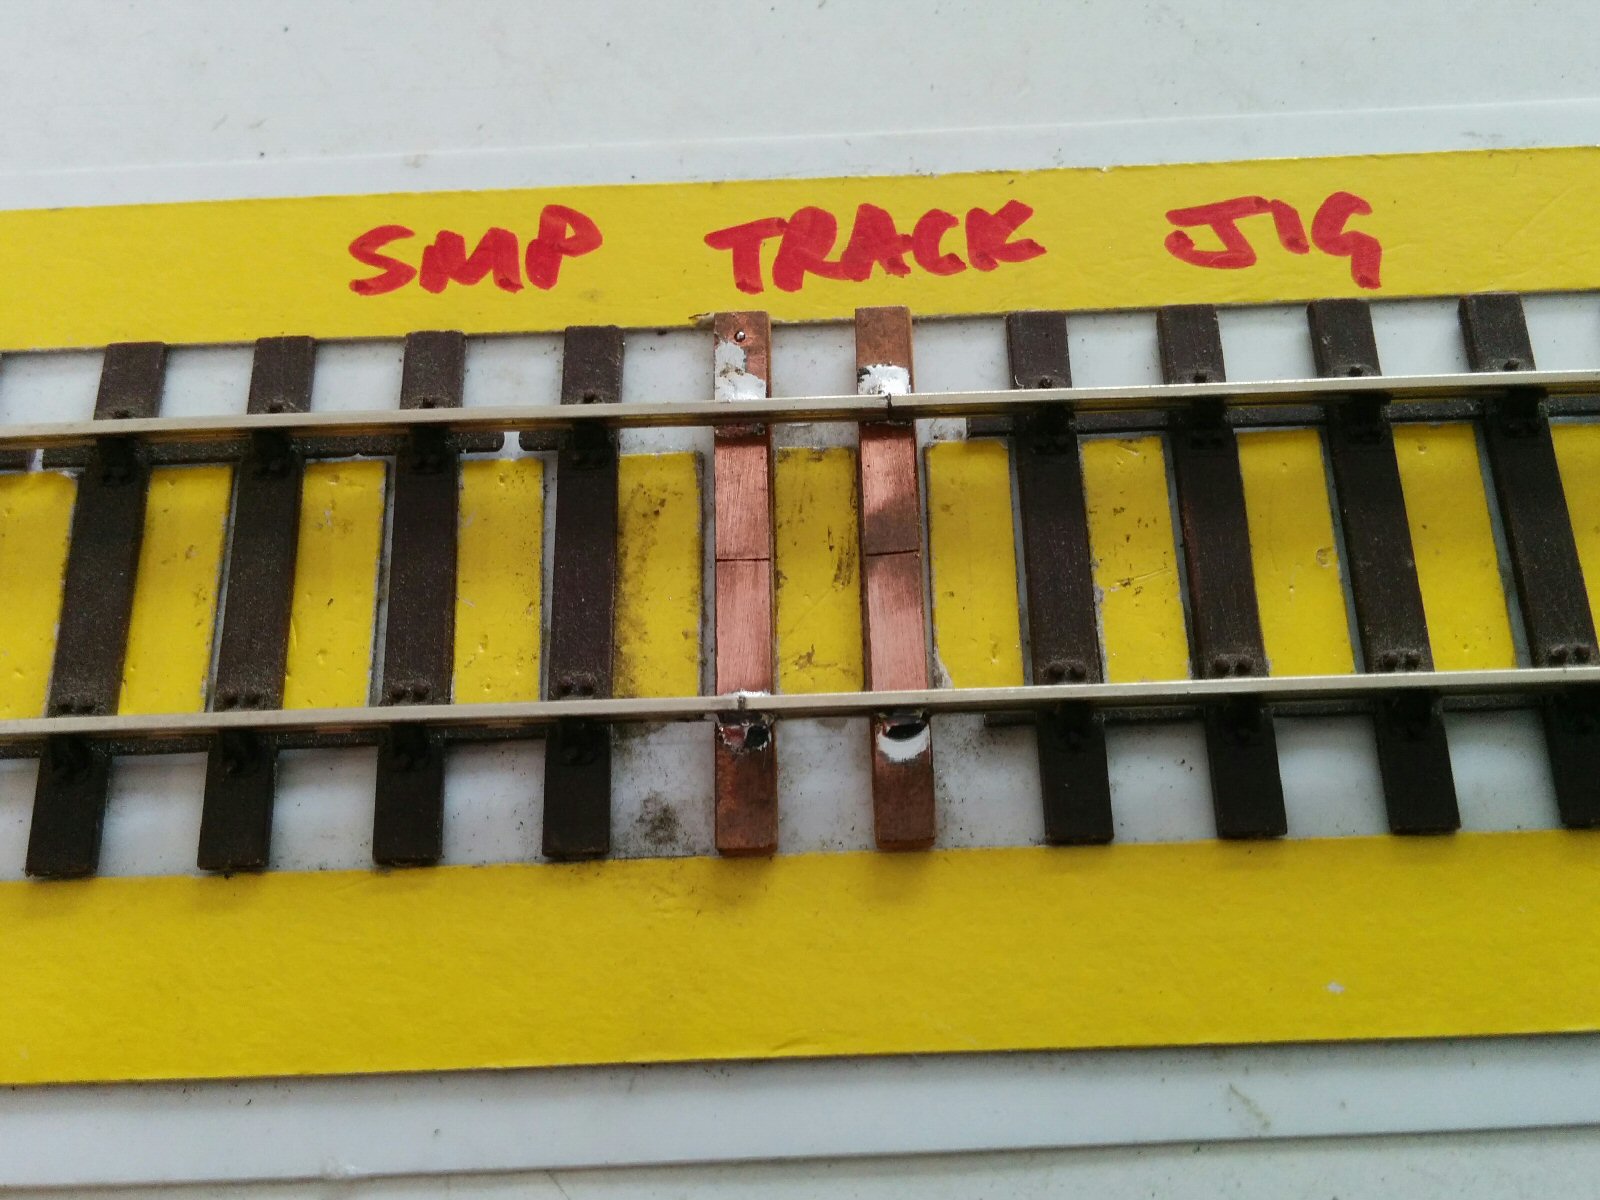
Once all the track was fitted, it had another quick paint spray, the after a cleanup, it was ready for use:
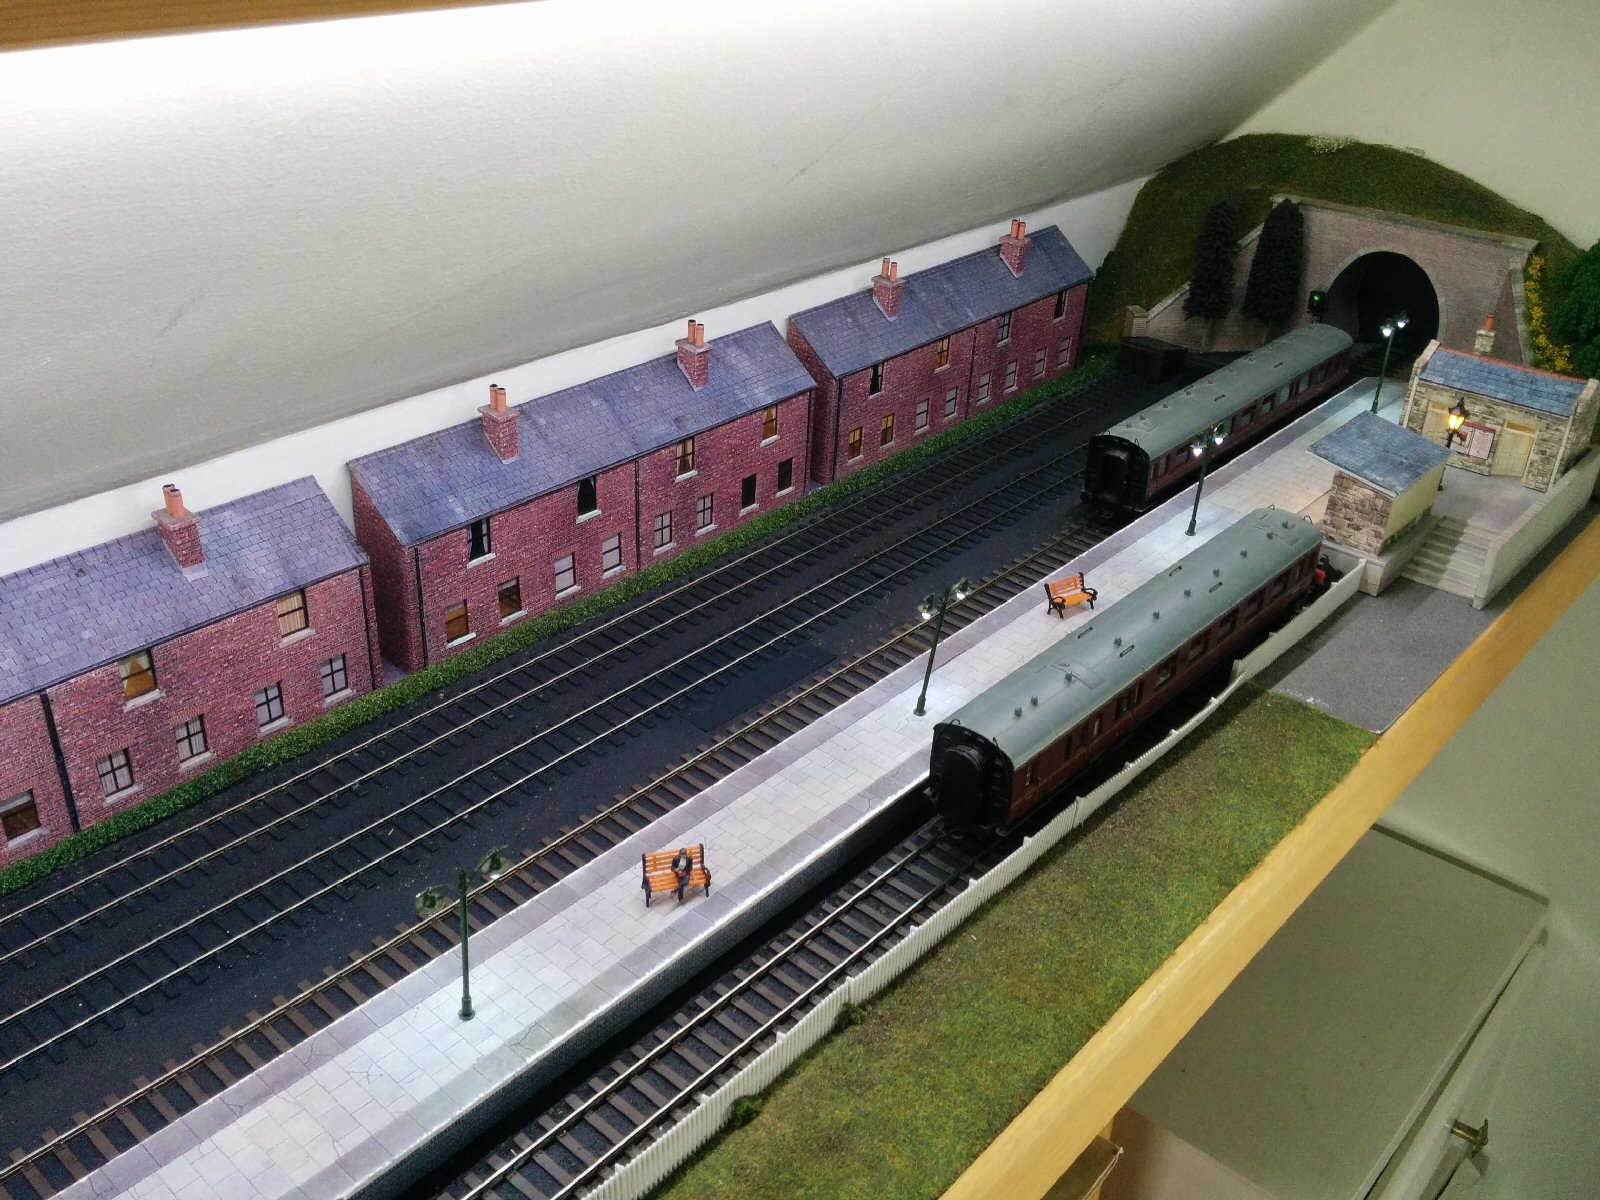
The buildings were also replaced:
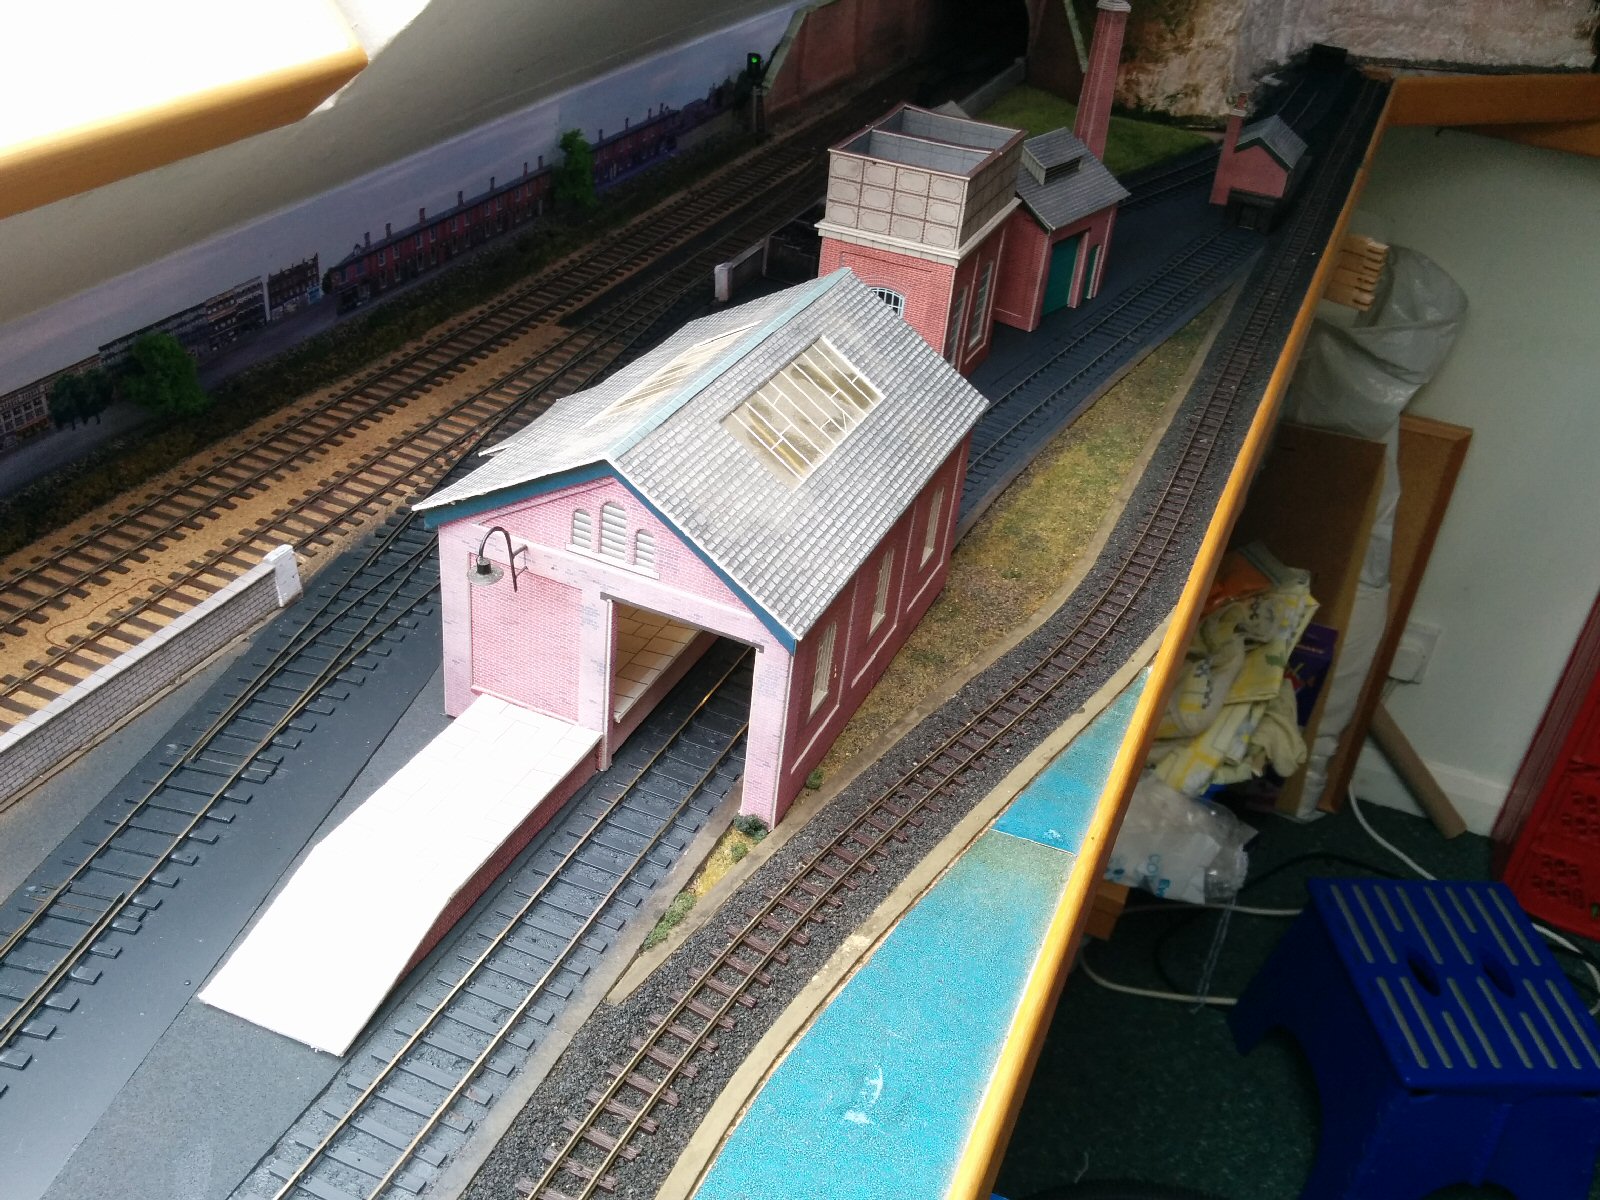
And finally, the stock could be brought back:
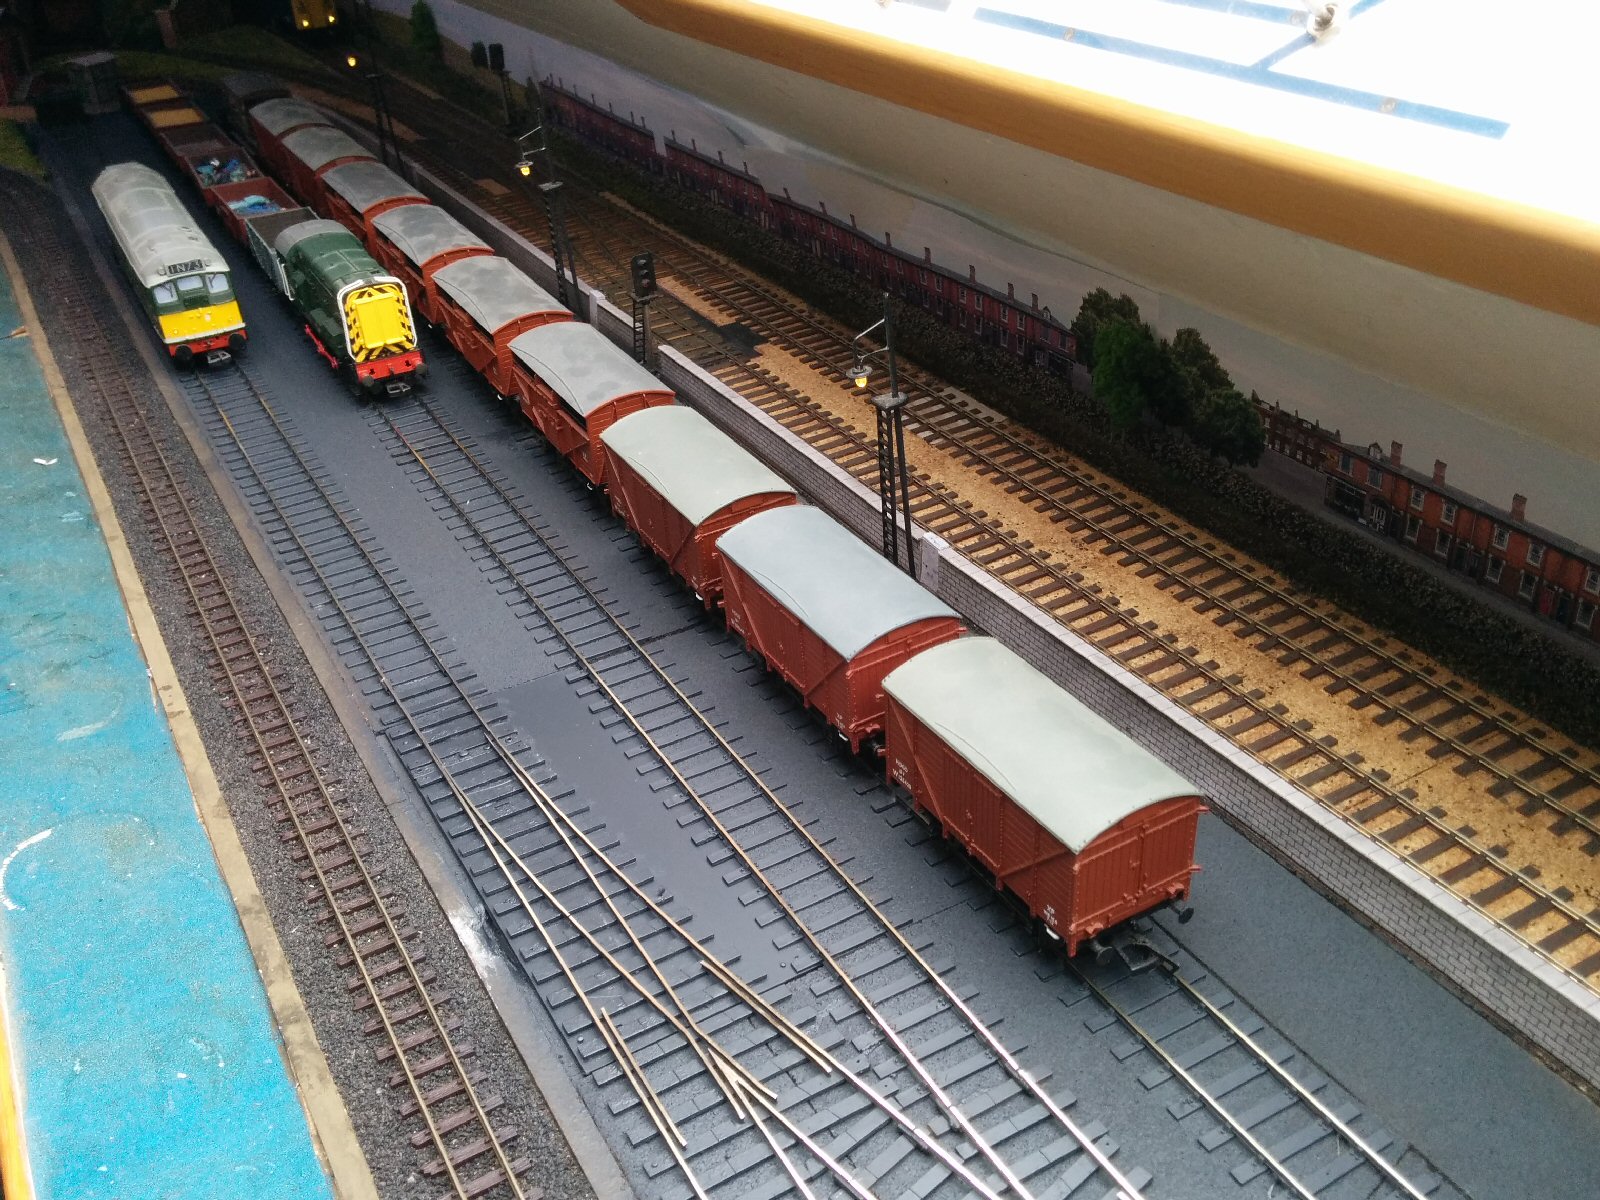
The whole area will need finishing off, but that can wait until I’ve updated the track on the rest of the layout.
As time permits, I’ve been mounting and fitting points to the Goods Yard area. However, there was a problem with the last point to be made – the motor had to go where there was a strut and a bunch of wires under the layout.
So a bit of inventive thinking came up with this:
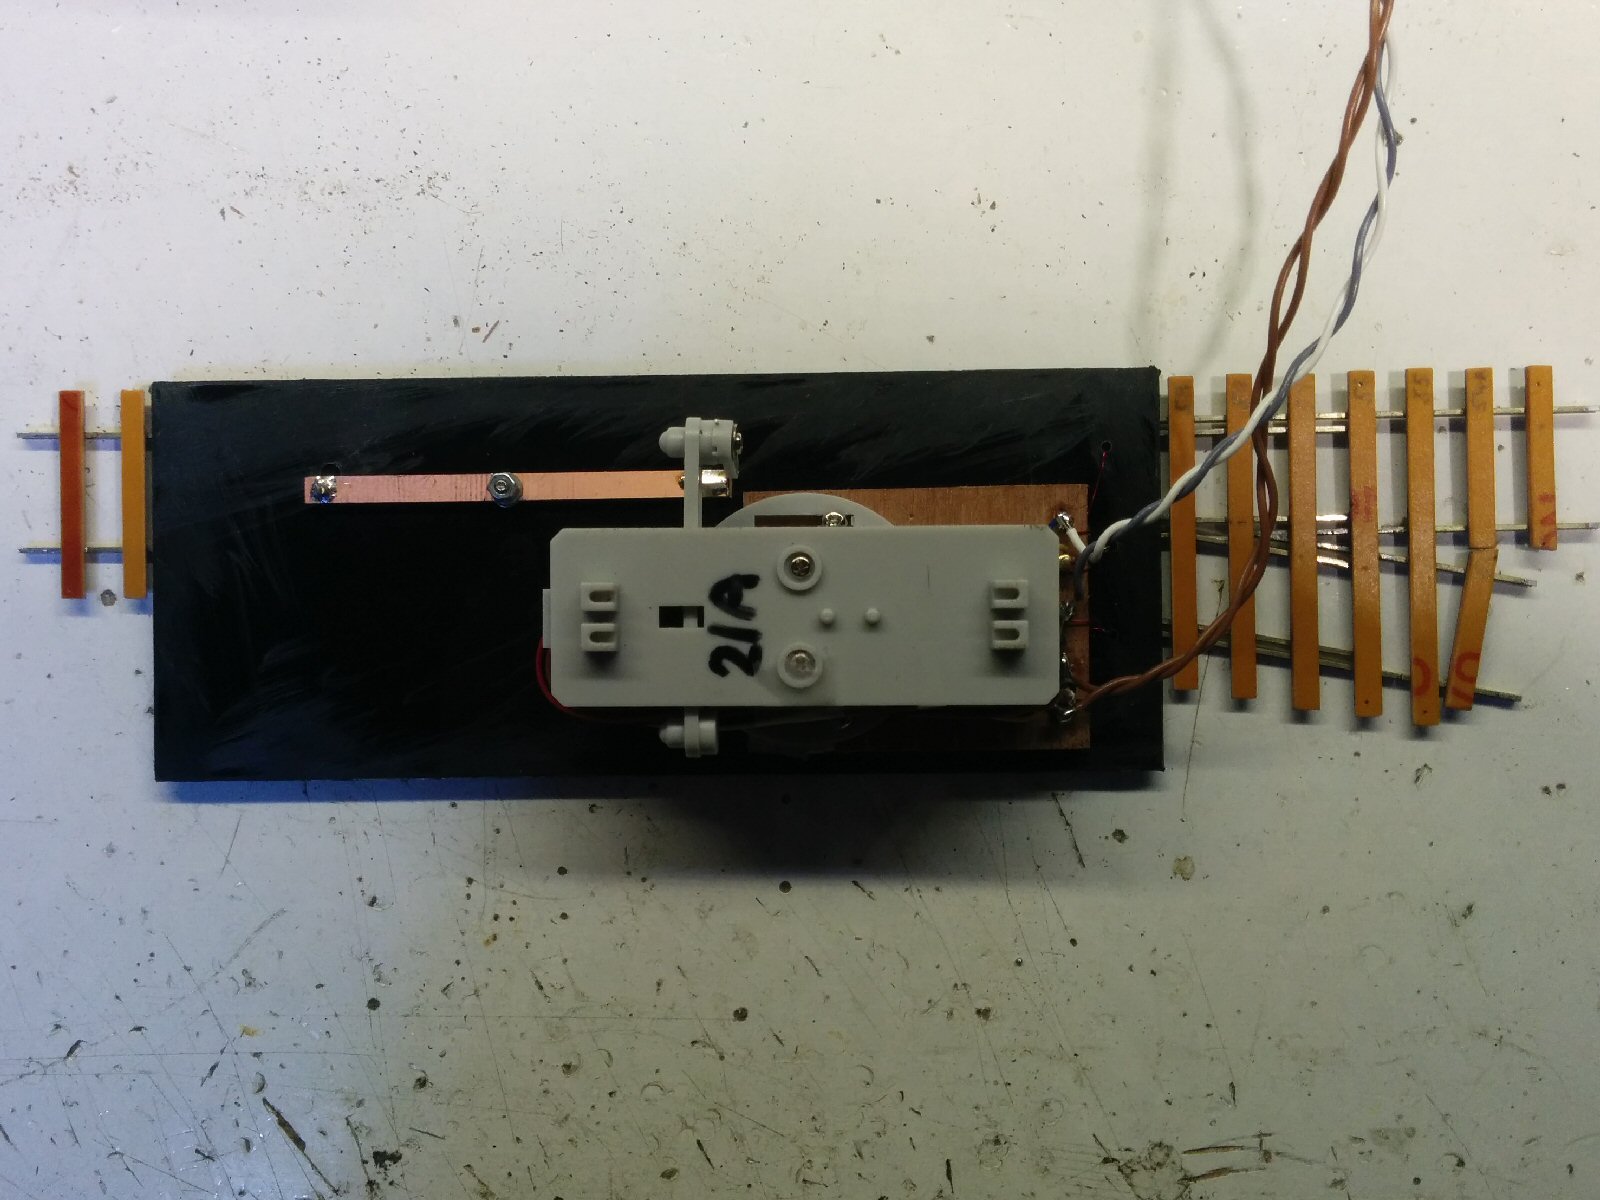 The motor drives the right hand side of the shiny copperclad bar, which pivots on the bolt in the middle, and the tie bar is driven via a pin on the left hand side.
 So the left part will fit in a channel in the 9mm baseboard.
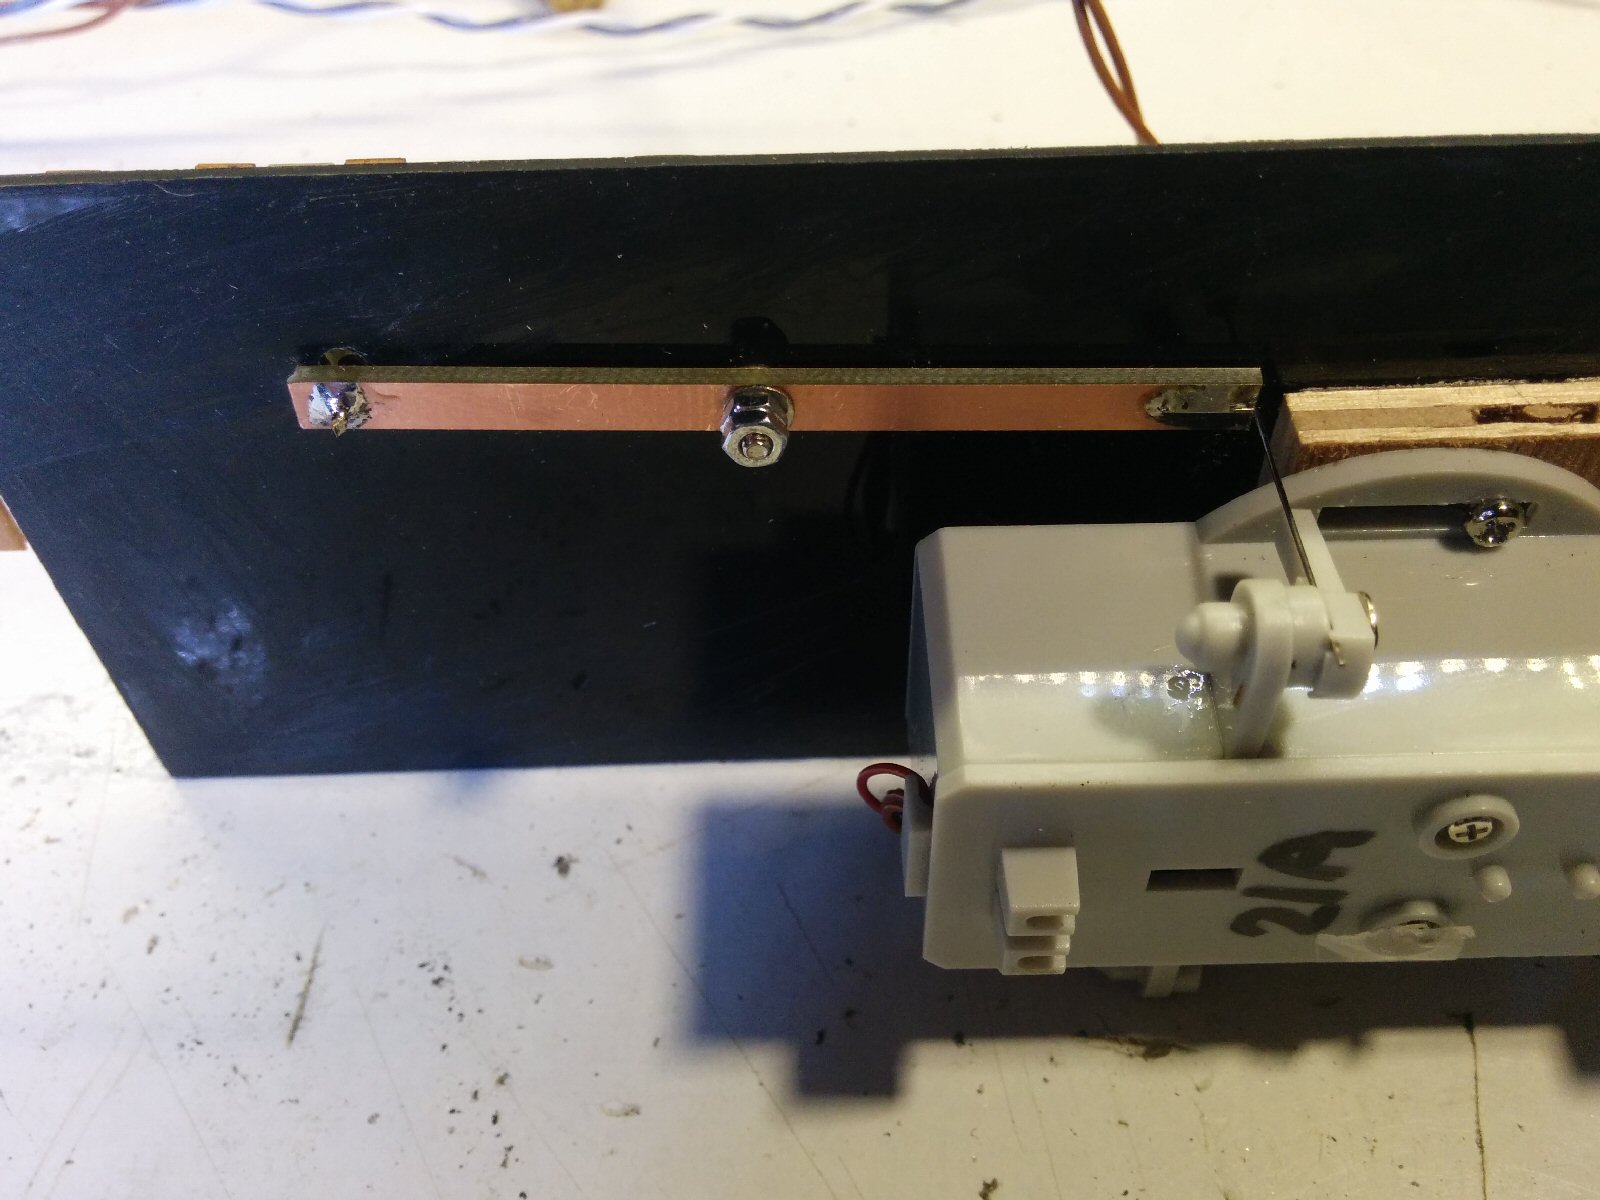
This is the top of the point, ready for installing in the layout:
 You can see the pivot bolt; this will eventually be covered by ballast.
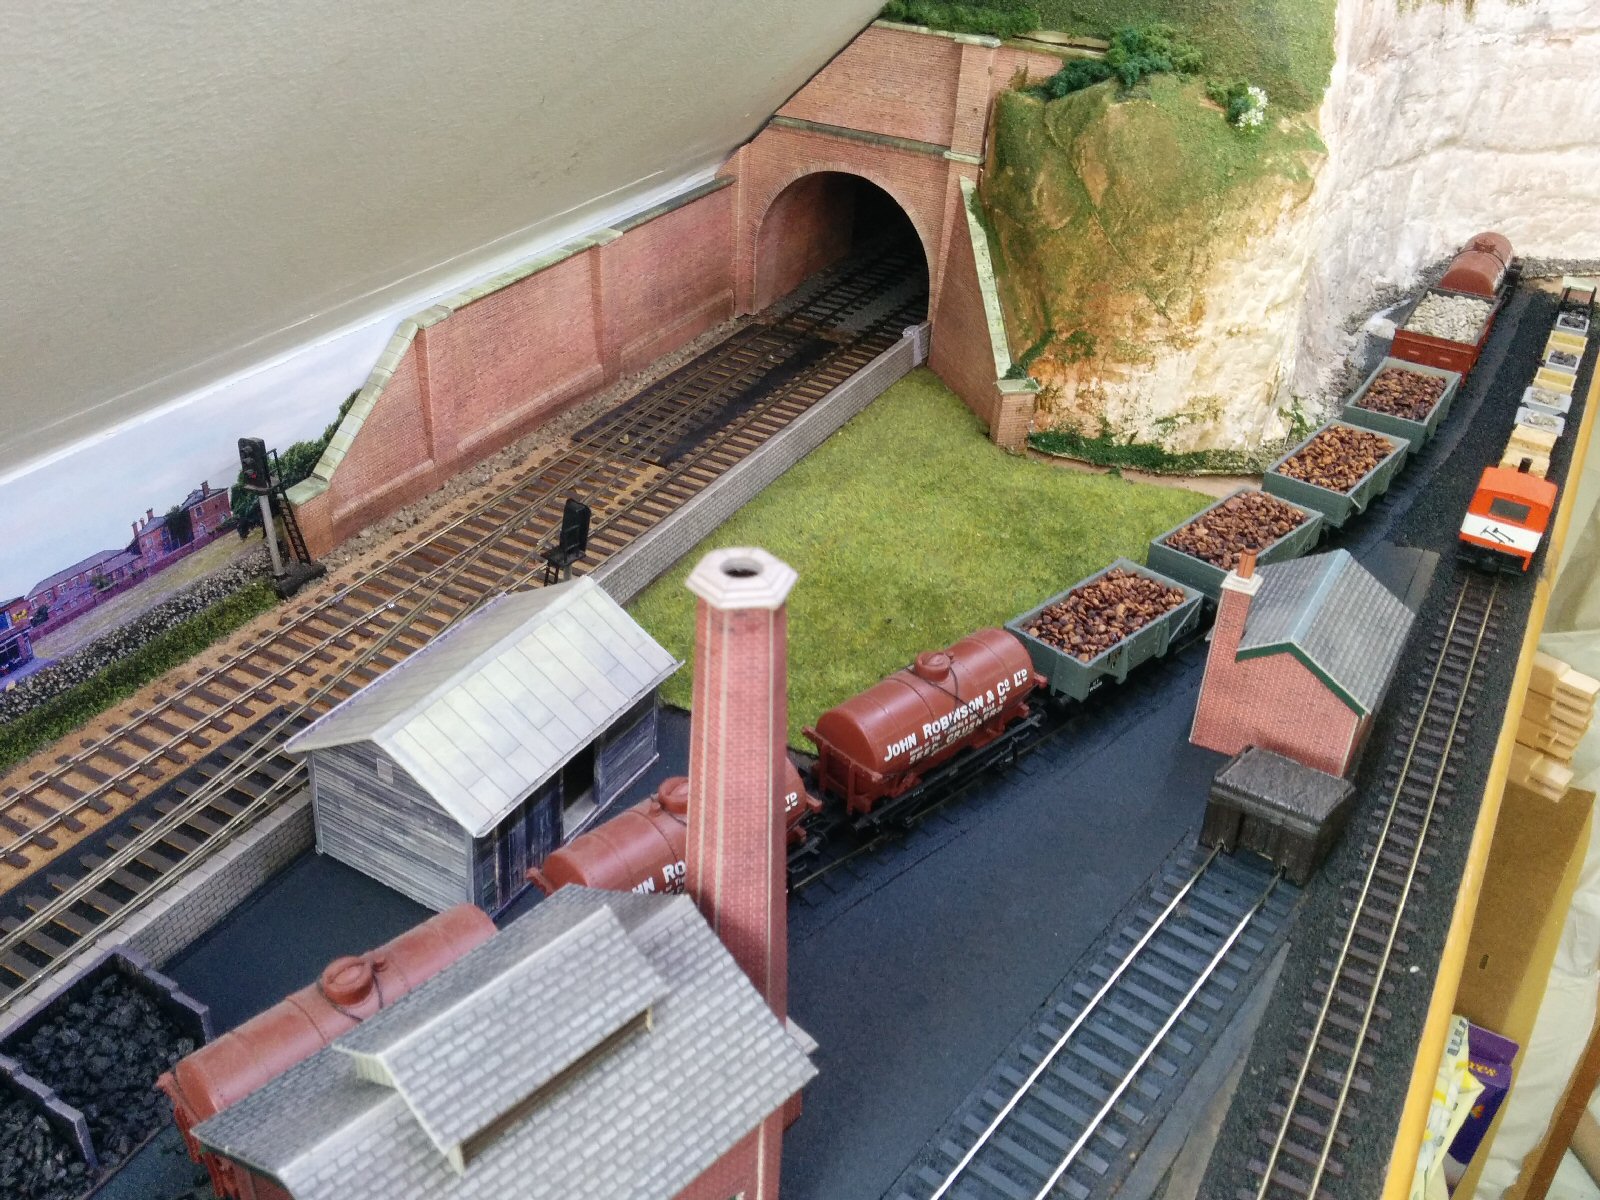
The new points by the tunnel have now been fitted:
What you don’t see are all the wiring changes under the board!
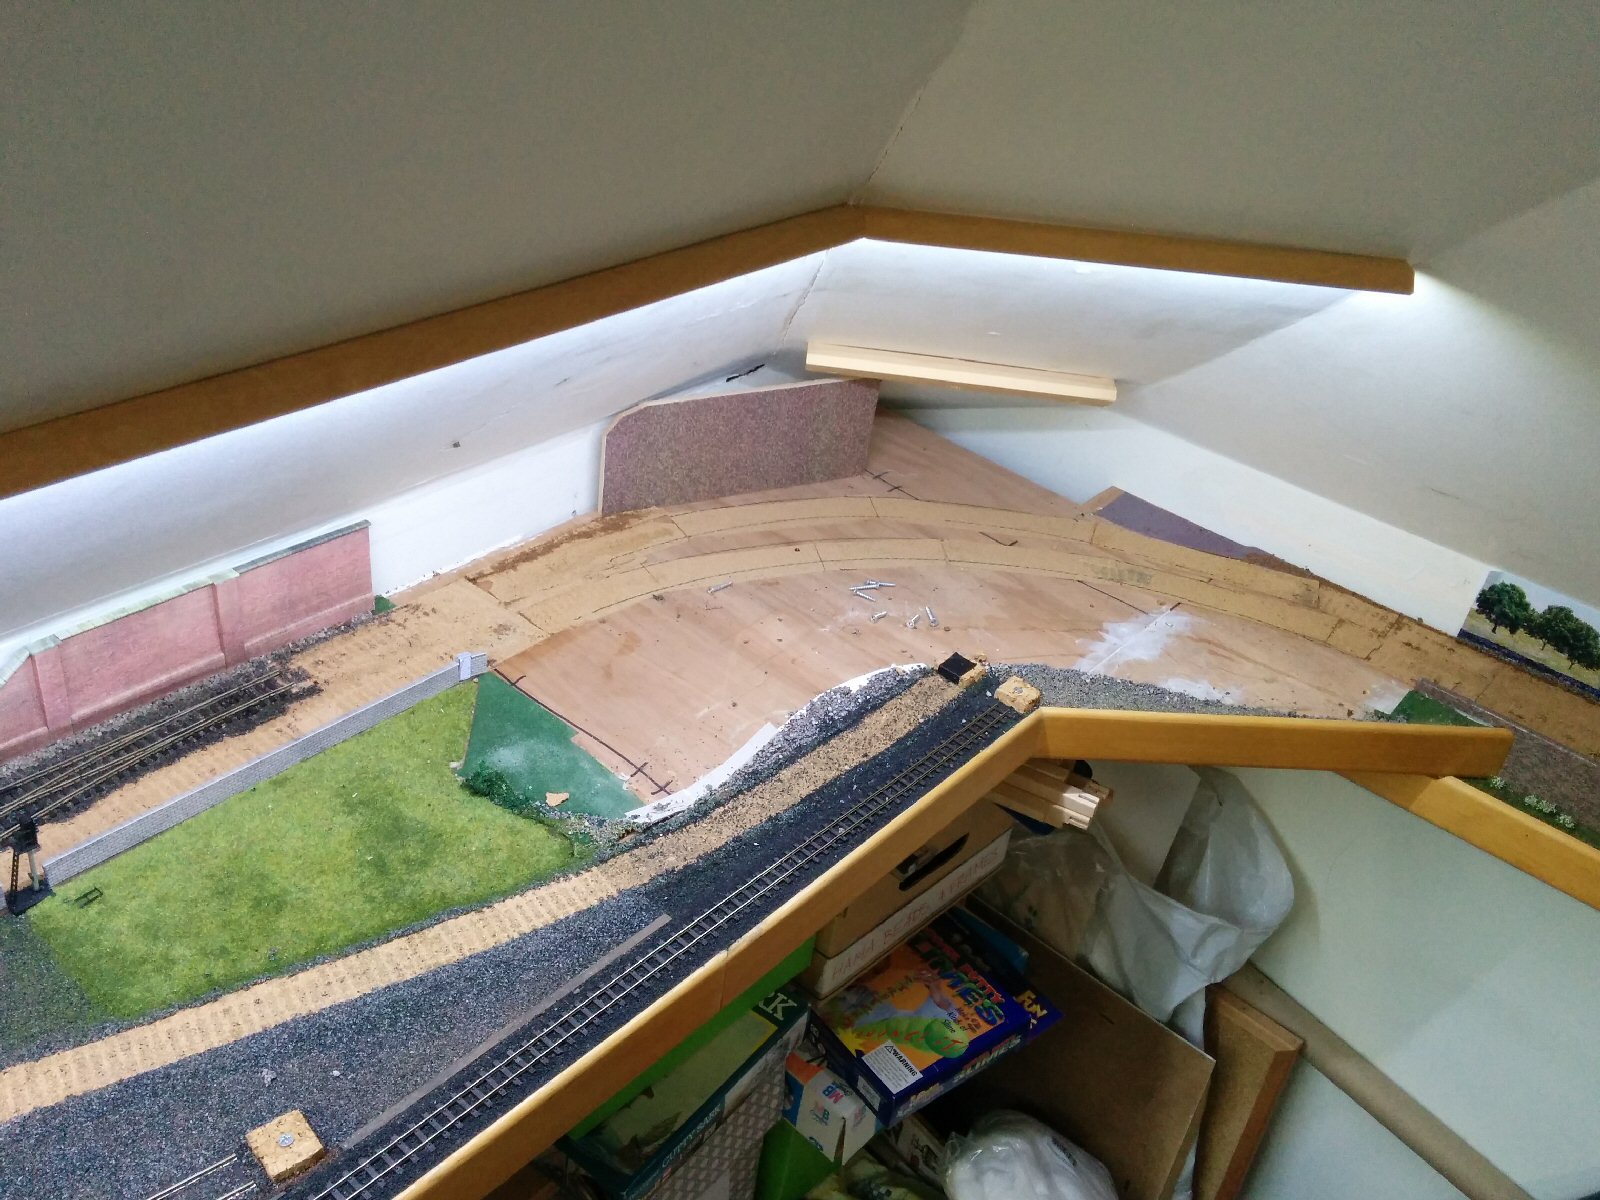
In order to lay the next section of new track, the tunnel has had to be removed. This was a challenge as I couldn’t remember how it was fixed, but luckily, the appropriate screws under the baseboard were marked “Tunnel”…
This area hasn’t seen daylight for 5 years:
The tracks were then easy to remove:
The old corner points and associated track have been cleared:
![]()
Holes were cut in the baseboard, and the new points (see Corner Points Construction to see how they’re made) were then fitted:

To the right of this picture, you can see a short adaptor which has been temporarily installed to convert the new, finer scale, track to the old track:

And then finally, the associated track was fitted. This is glued down with a dilute Copydex mixture, which will hold the track in place prior to it being ballasted:

The old trackbed in the front of this picture will become a road.